Zuora is a leading subscription management & billing solution.
Stigg’s native integration with Zuora synchronizes product catalog (products, plans, add-ons, coupons), customers, subscriptions, and usage from Stigg to Zuora. Stigg also receives select billing events back from Zuora — including subscription cancellations, invoice payments, scheduled order completions, and payment method changes — to keep both systems in sync. See Zuora callouts and incoming events for the full list.
Entity mapping
By default, Stigg uses the following mapping:
- Stigg plan → Zuora product
- Stigg price → Zuora rate plan and charge
This model prioritizes isolation between plans.
Stigg entities are mapped to Zuora entities as follows:
| Stigg Entity | Zuora Entity |
|---|
| Feature | N/A |
| Product | N/A |
| Plan | Product Rate Plan (“Pro plan”) |
| Add-on | Product Rate Plan (as an add-on) |
| Plan / add-on billing period | Billing period on Product Rate Plan Charge |
| Plan / add-on charge | Product Rate Plan Charge |
| Customer | Account |
| Subscription | Subscription (created via Order) |
Entities that are not synced to Zuora
| Entity | Not synced to Zuora when… |
|---|
| Customer | Customer doesn’t have any subscription |
| Customer only has subscriptions to free plans |
| Customer only has trial subscriptions |
| Customer only has subscriptions to plans with a custom price |
| Customer’s billing information is not sent to Stigg |
| Customer doesn’t have a payment method |
| Syncing of customers is disabled in the environment |
| Subscription | Subscription is for a free plan |
| Subscription is for a trial plan |
| Subscription is for a plan with a custom price |
| Syncing of subscriptions is disabled in the environment |
These are the default rules. Customers and subscriptions can still be forced to sync in special cases. For example, if a Billing ID is set to link with an existing Zuora record or if metadata with the ZUORA__ prefix is provided.
Syncing customer usage to Zuora
When customers are subscribed to plans with pay-as-you-go pricing, feature usage that’s reported to Stigg is synced to Zuora every hour.
When the integration is enabled, it’s possible to manually trigger this sync from the Stigg app by leveraging the Sync usage to Zuora action in details screen of the relevant subscription.
Setting up the integration
Create an API user in Zuora
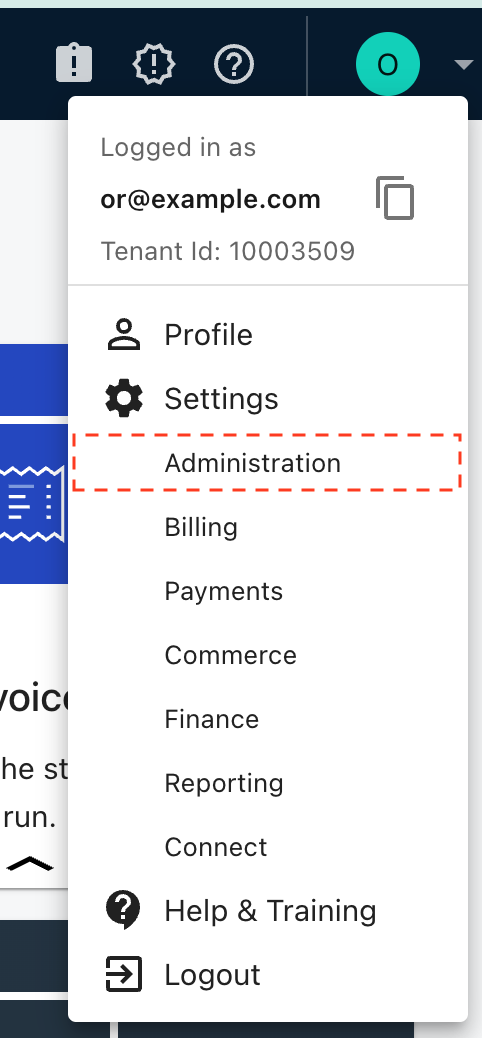
In Zuora, under the Settings section click on Administration
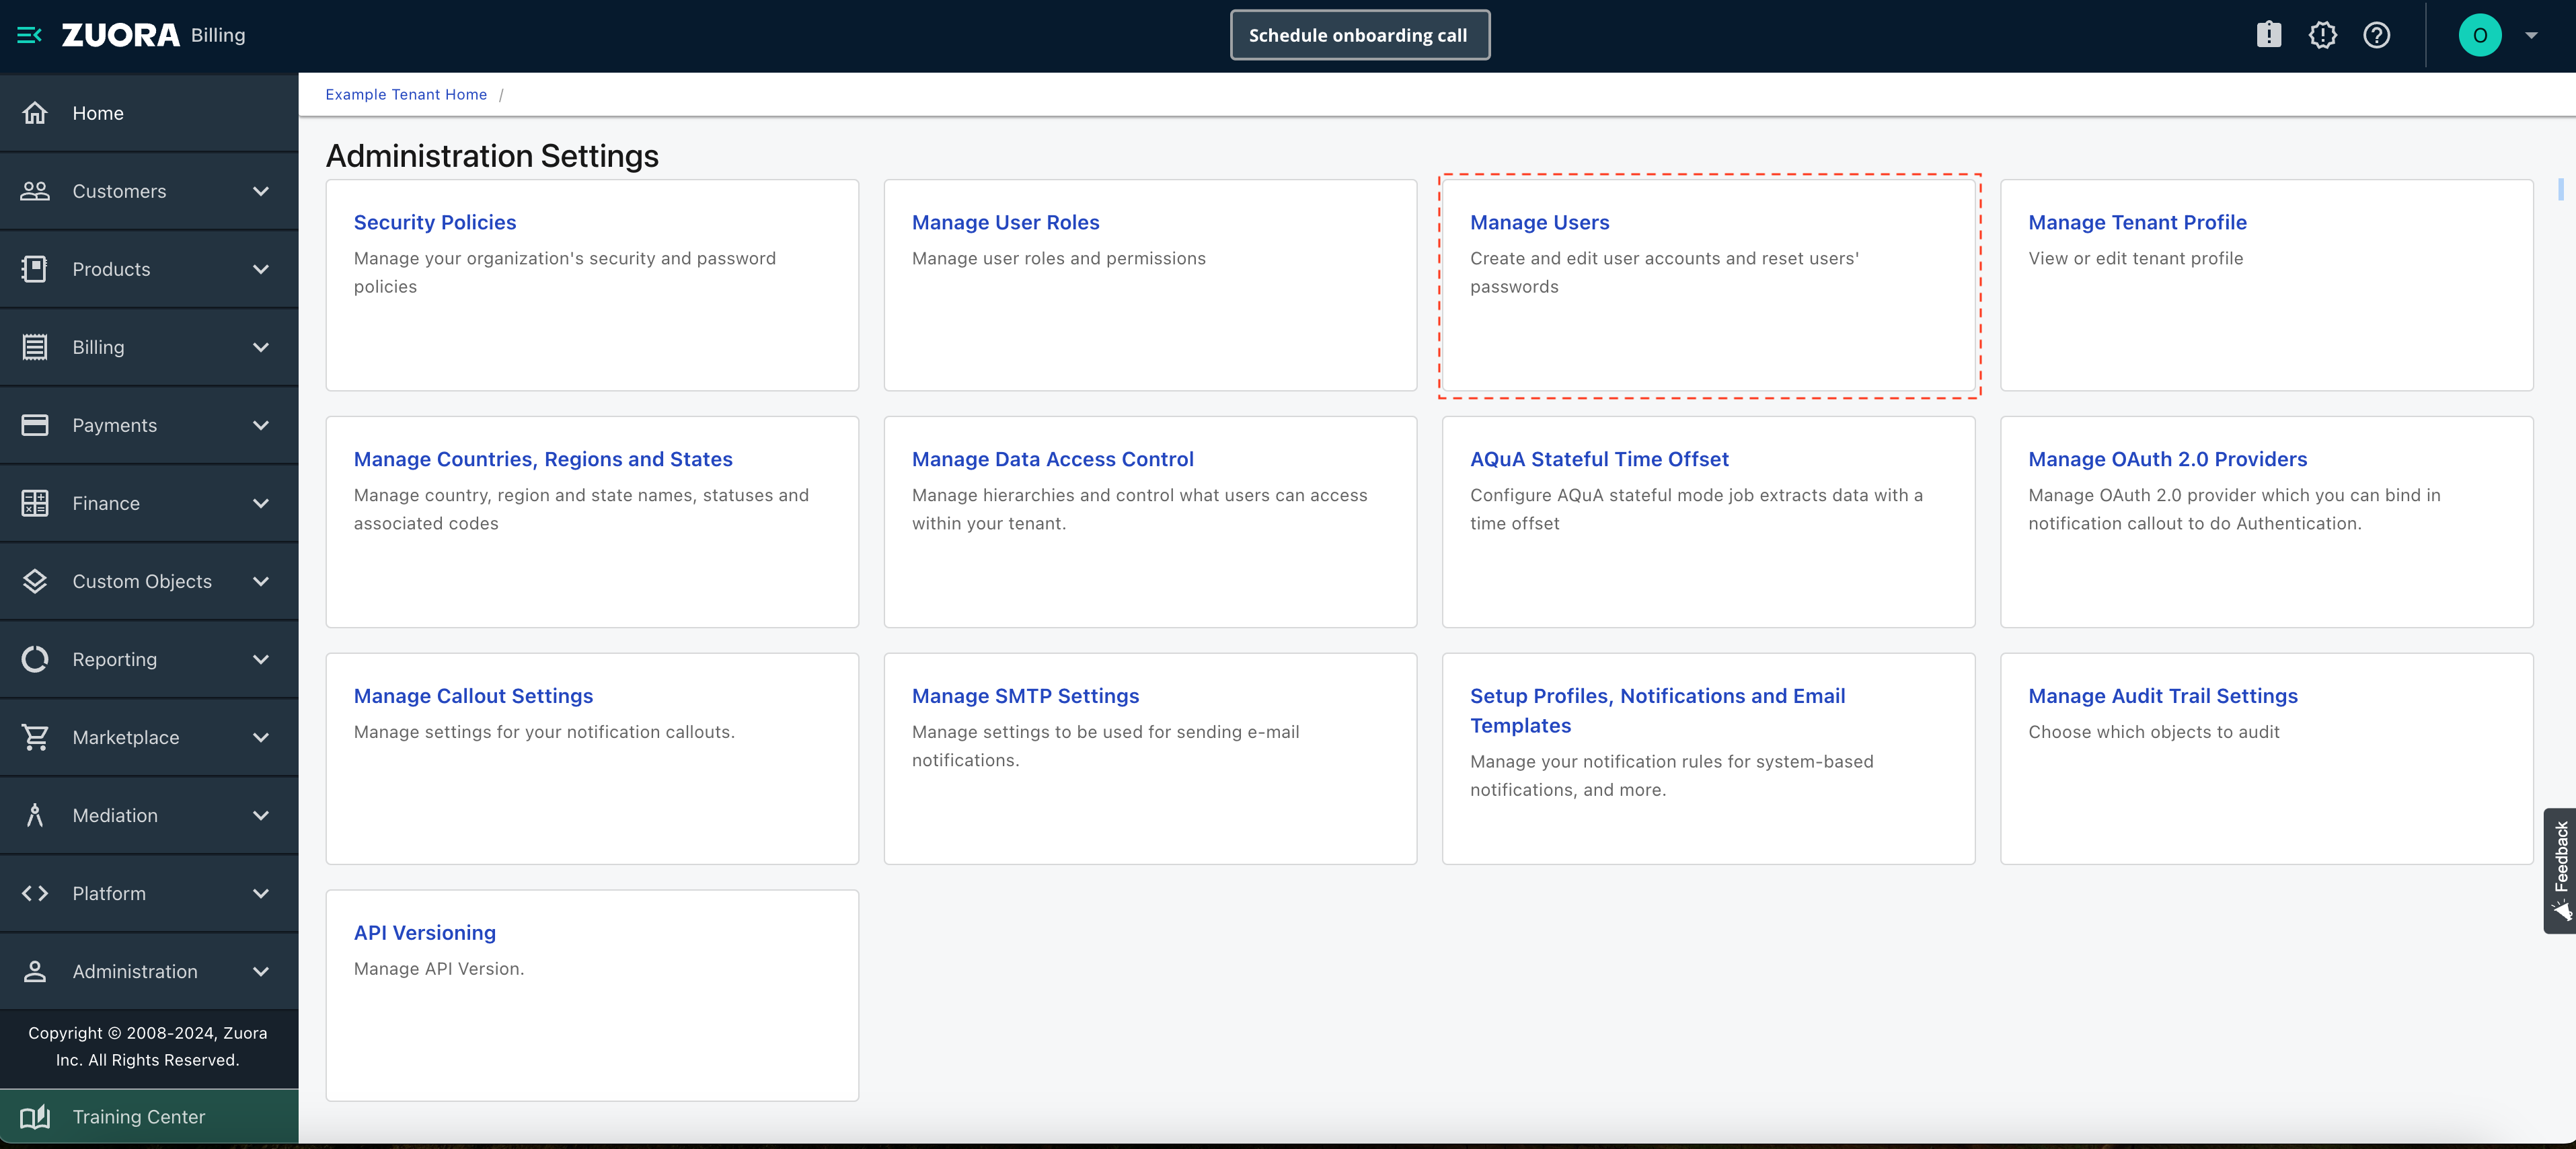
 In the opened screen, click on Manage Users.
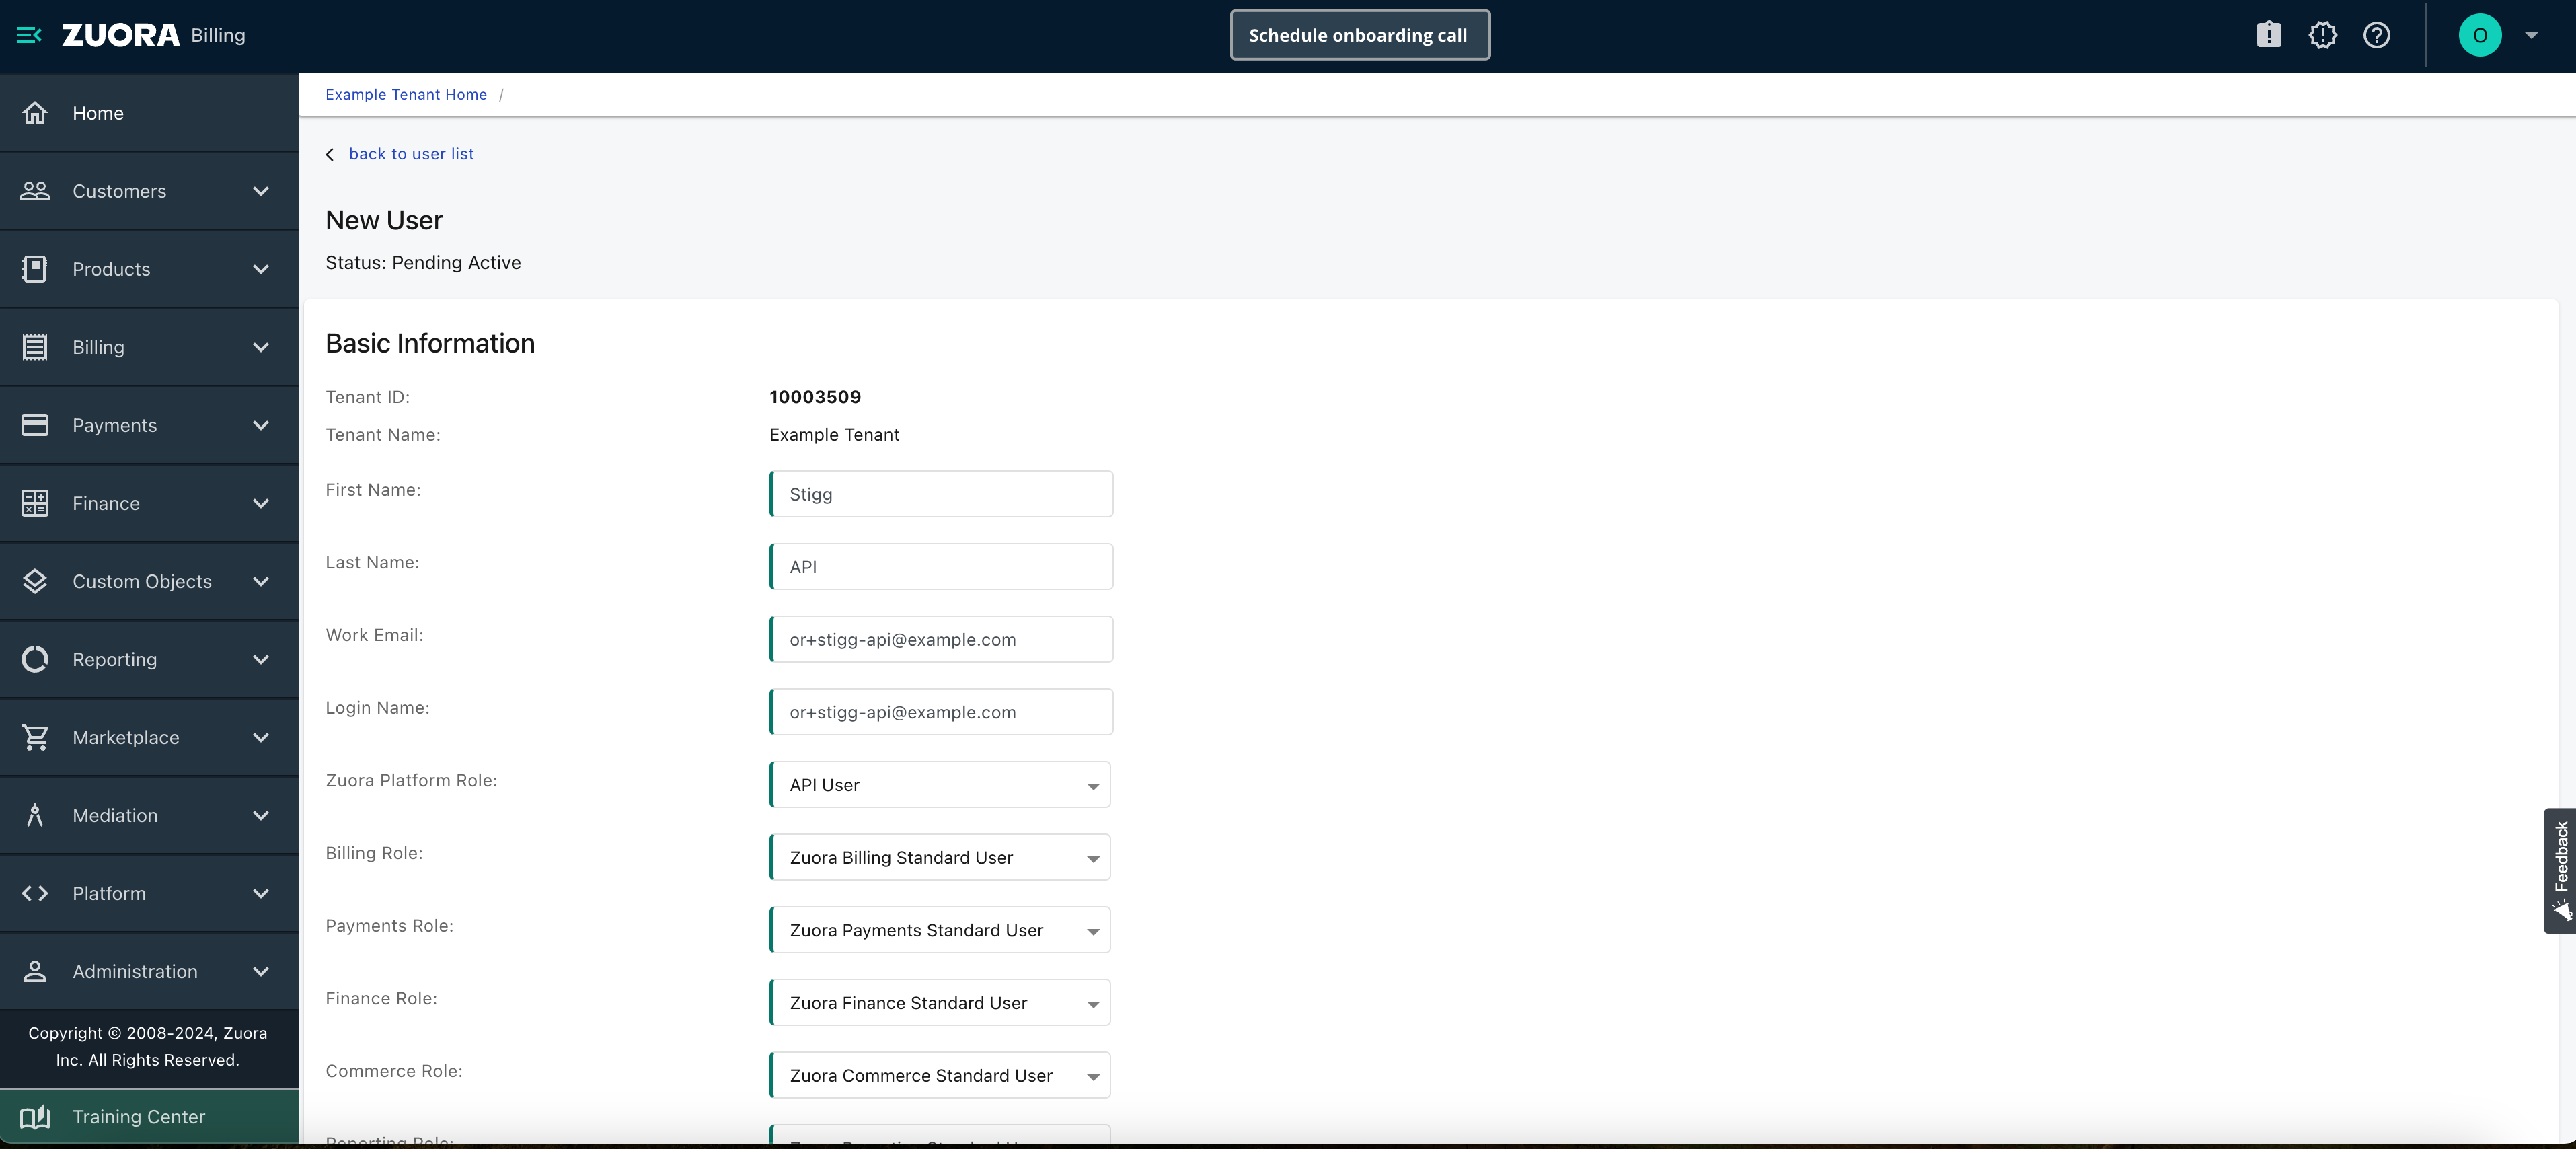
 Create a new user that will be used for the integration with Stigg.

A valid email address is required for activation of the Zuora user.
- Zuora Platform Role - API User
- Billing Role - Zuora Billing Standard User
- Payments Role - Zuora Payments Standard User
- Finance Role - Zuora Finance Standard User
- Commerce Role - Zuora Commerce Standard User
- Reporting Role - Zuora Reporting Standard User
Required permissions
When the integration is connected, Stigg automatically configures the following in your Zuora tenant. The API user must have permissions to create and manage each of them:
| What Stigg creates | Required permission |
|---|
| Custom fields on Product, Account, Subscription, and Order objects | View Custom Objects, Edit Custom Objects |
Event triggers (StiggInvoicePaidEvent, StiggScheduledOrderCompletedEvent) | Events & Notifications View Access, Events & Notifications Manage Access |
Callout templates (Stigg Invoice Paid Callout, Stigg Order Scheduled Callout) | Events & Notifications View Access, Events & Notifications Manage Access |
Notification definitions (Stigg Invoice Paid Notification, Stigg Order Scheduled Notification) | Events & Notifications View Access, Events & Notifications Manage Access |
- View Custom Objects
- Edit Custom Objects
- Events & Notifications View Access
- Events & Notifications Manage Access
Click Save.
You should receive an email with instructions on how to activate the user.
Follow the instructions to the activate it.
Create an OAuth client in Zuora
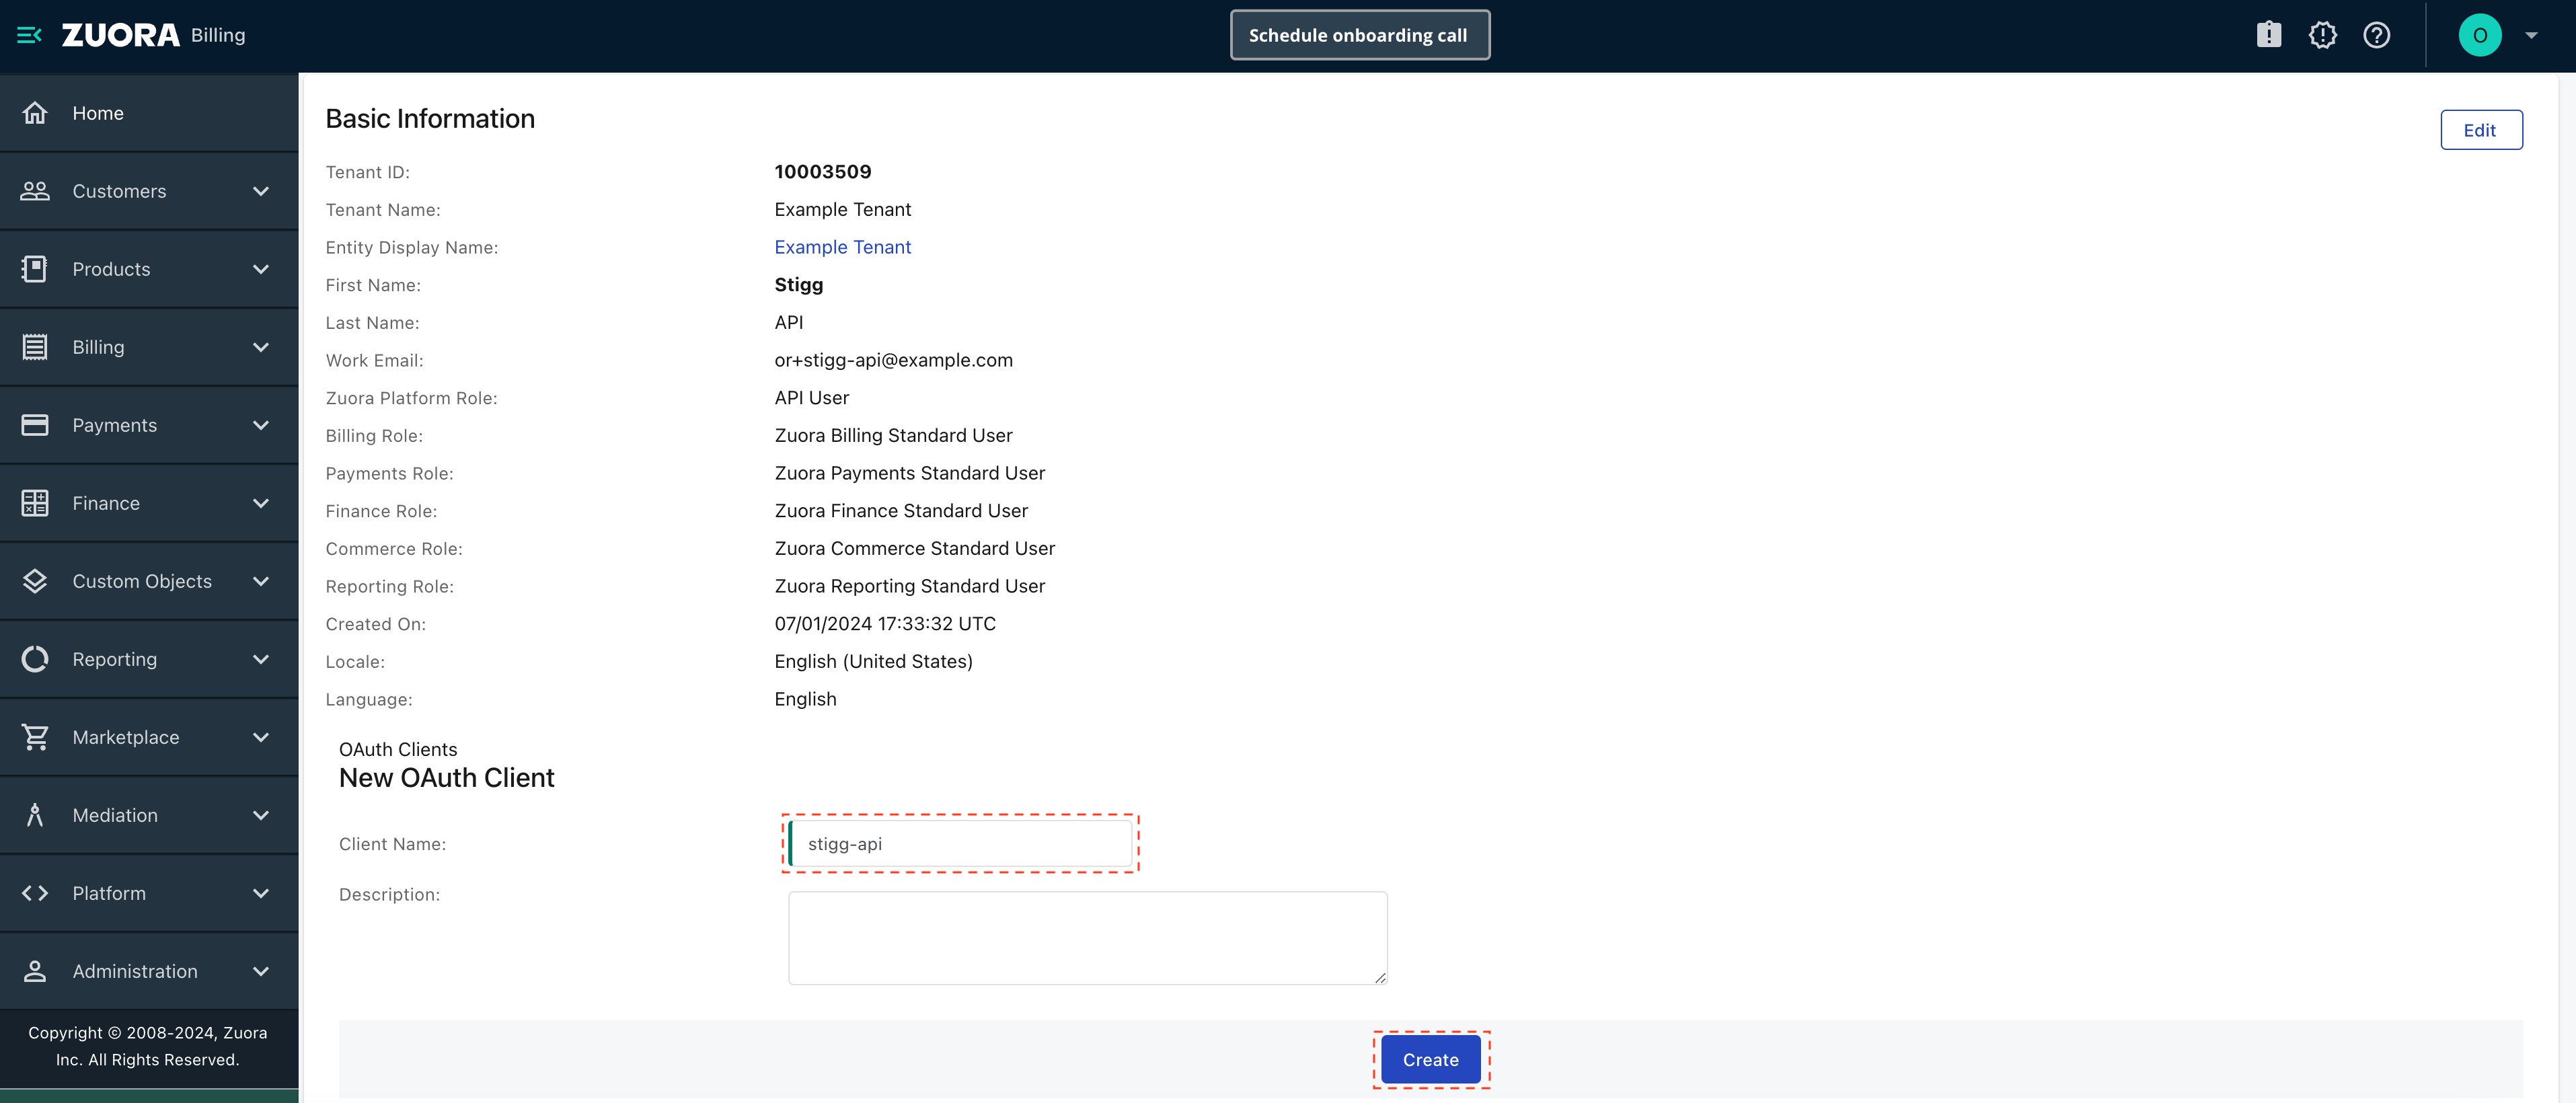
In Zuora, open the user that was created and activated in the previous step.
Under the OAuth Clients section, create a new client called stigg-api.
 In the opened modal, copy the client ID and secret - you will need to enter them in the Stigg app.
Once closed, the client secret will no longer be shown. To view it again, you will need to create a new OAuth client.
 The following custom fields are automatically created in your Zuora tenant when the Stigg integration is set up.
You can add up to 10 indexed custom and 40 non-indexed fields in Zuora. Indexed fields are recommended for performance but are not required for the integration to work.
Zuora automatically adds a ‘__c’ suffix to all API names, for example: stiggEntityUrl__c
| Zuora entity | Field type | Field label | API name | Length |
|---|
| Product | text | stiggEntityUrl | stiggEntityUrl | 255 |
| Account | text | stiggEntityUrl | stiggEntityUrl | 255 |
| Account | text | stiggCustomerId | stiggCustomerId | 255 |
| Subscription | text | stiggEntityUrl | stiggEntityUrl | 255 |
| Subscription | text | stiggCustomerId | stiggCustomerId | 255 |
| Subscription | text | stiggResourceId | stiggResourceId | 255 |
| Order | text | stiggEntityUrl | stiggEntityUrl | 255 |
| Order | text | stiggCustomerId | stiggCustomerId | 255 |
| Order | text | stiggResourceId | stiggResourceId | 255 |
Custom fields - ZUORA__ prefix
Metadata keys prefixed with ZUORA__ are mapped to custom fields on the corresponding Zuora entity.
| Stigg entity | Zuora entity |
|---|
| Plan / Add-on | Product |
| Customer | Account |
__c suffix is appended automatically to form the Zuora custom field name:
ZUORA__<FieldName> (Stigg metadata) → <FieldName>__c (Zuora custom field)
ZUORA__SalesRegion → SalesRegion__c on the Zuora Product or Account.
The target custom field must already exist in Zuora before syncing. Custom fields are not created automatically.
Charge-level fields - ZUORA_CHARGE__ prefix
Metadata keys prefixed with ZUORA_CHARGE__ are applied to the Zuora Product Rate Plan Charge that corresponds to the plan or add-on. This prefix supports both standard accounting code fields and custom charge fields.
This prefix applies only to plan and add-on metadata.
Accounting code fields
The following keys map to built-in Zuora charge fields:
| Stigg metadata key | Zuora field |
|---|
ZUORA_CHARGE__AccountingCode | AccountingCode |
ZUORA_CHARGE__DeferredRevenueAccountingCode | DeferredRevenueAccountingCode |
ZUORA_CHARGE__RecognizedRevenueAccountingCode | RecognizedRevenueAccountingCode |
ZUORA_CHARGE__<FieldName> key is set as a custom field on the charge (with __c appended), following the same convention as the ZUORA__ prefix.
ZUORA_CHARGE__<FieldName> (Stigg metadata) → <FieldName>__c (Zuora charge custom field)
Skip-update flag - ZUORA__SYNC_SKIP_UPDATE
Setting ZUORA__SYNC_SKIP_UPDATE to true on a plan or add-on prevents Stigg from pushing updates to the corresponding Zuora product during sync. The entity will still be created on first sync, but subsequent changes in Stigg will not overwrite the Zuora product.
This is useful when the Zuora product is managed manually or by another system.
Connect Stigg with Zuora
In the Stigg app, navigate to the Settings > Integrations > Apps section.
Select the Zuora integration app.
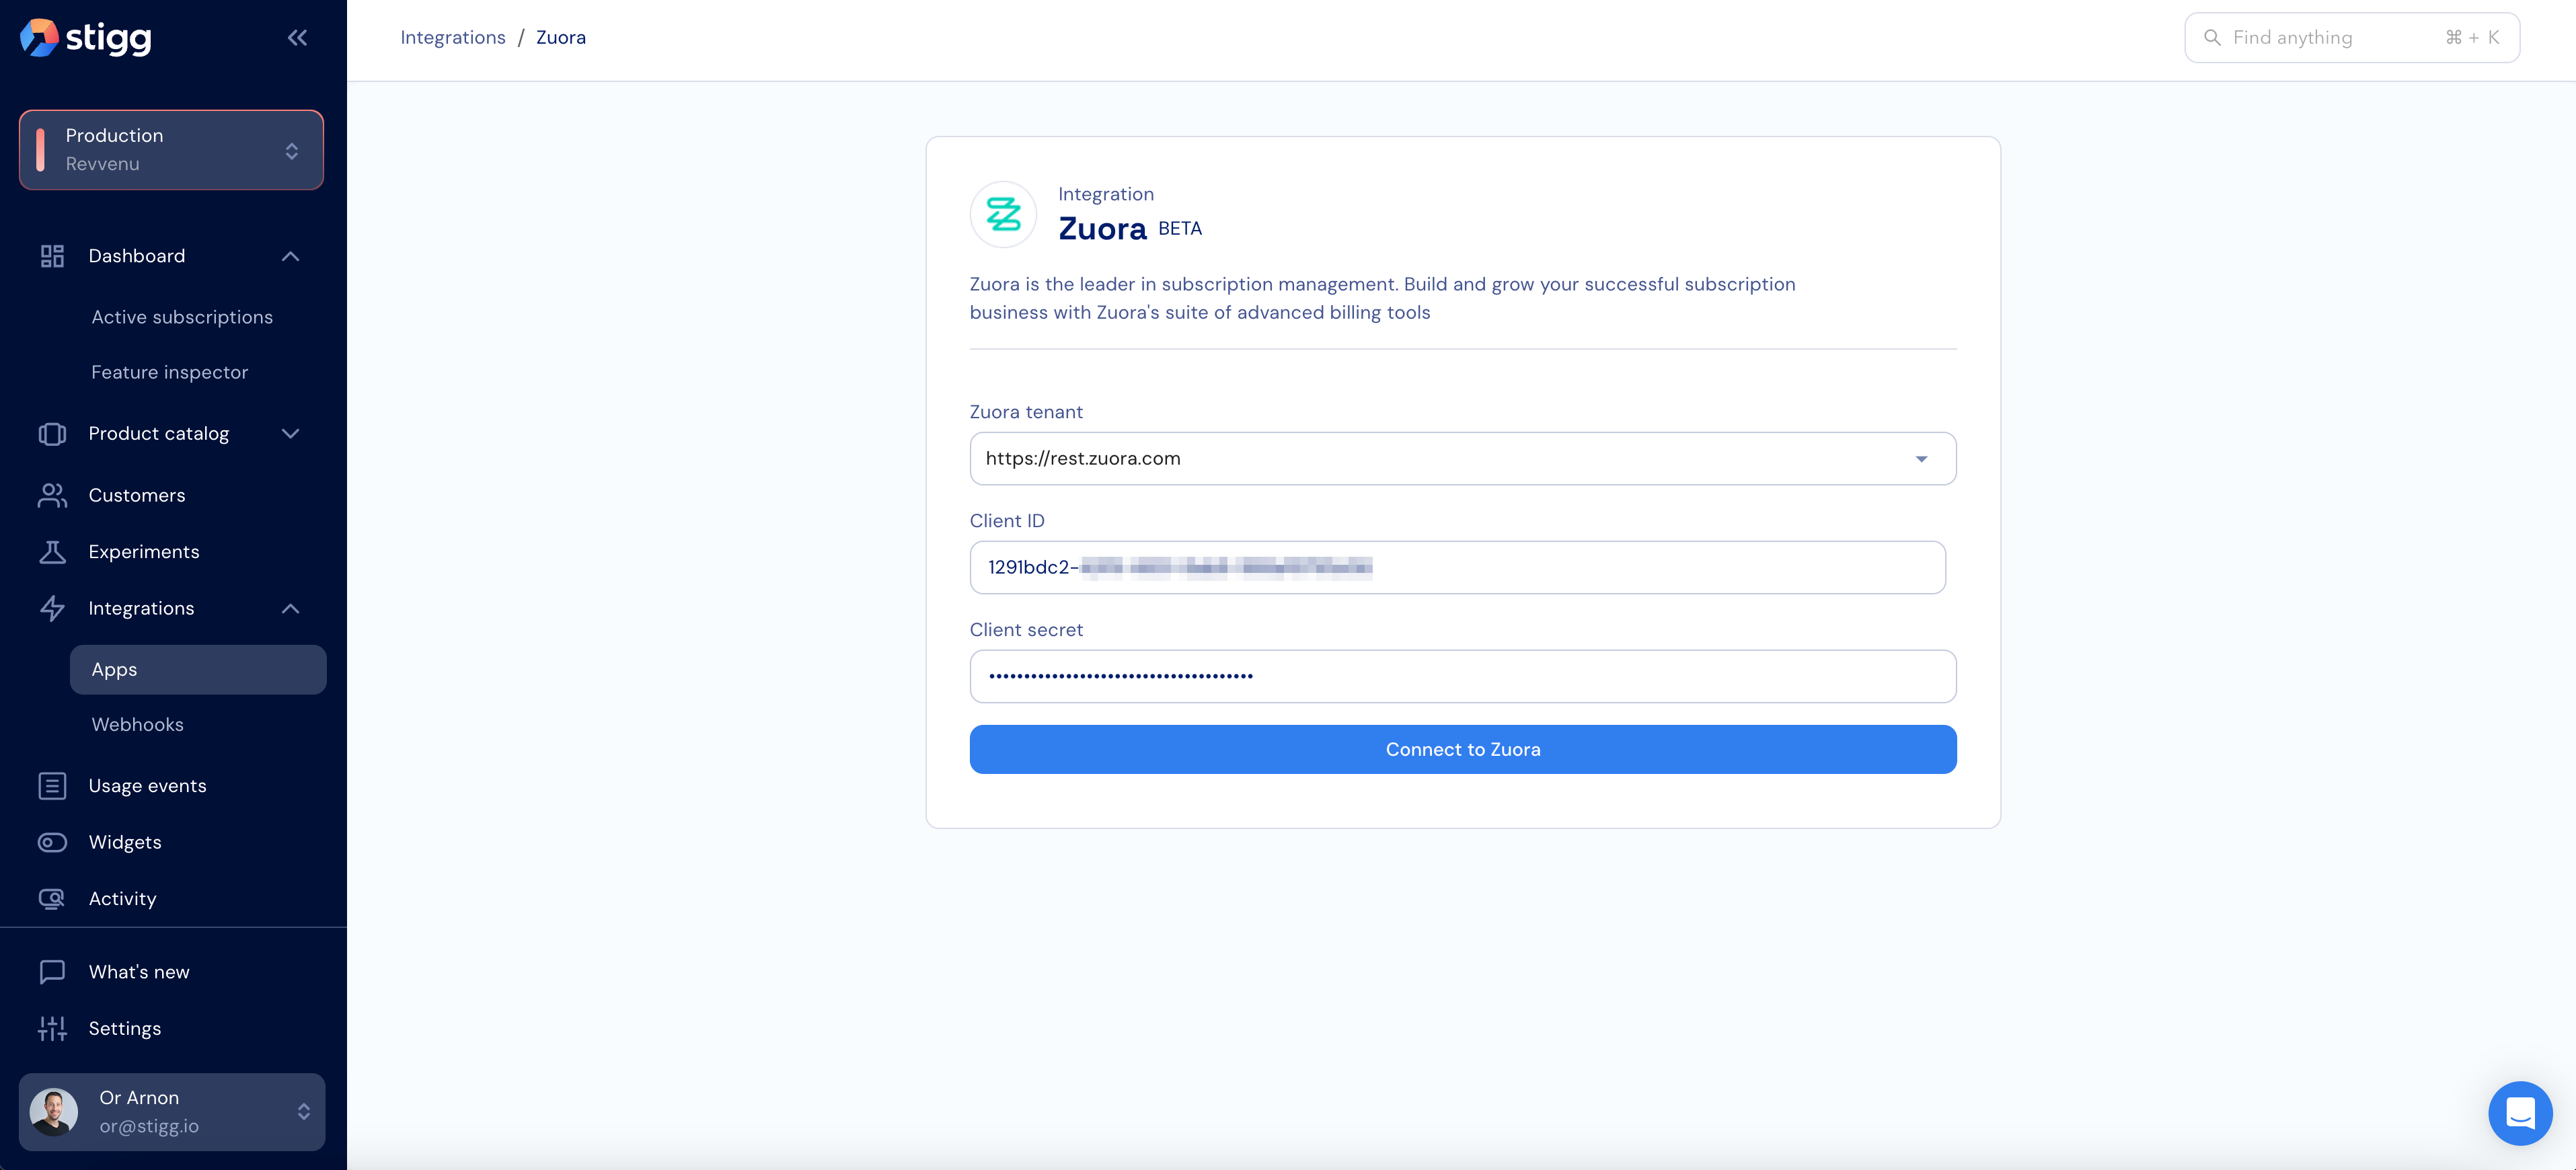
In the opened form, enter the following information:
- Zuora tenant - the URL of your Zuora tenant
- Client ID - the ID of the OAuth client that you created in the previous step
- Client secret - the secret of the OAuth client that you created in the previous step
Confirm the integration setup by clicking on the Connect to Zuora button.
 Once connected, the integration settings are split into two sections:
- Integration details - update your tenant credentials or toggle Invoice item settlement to enable item-level payment settlement through Zuora.
- Additional settings - optionally enable the Use Stigg Checkout widget toggle to allow customers to add payment methods via the Stigg Checkout widget. See Integration with Zuora payment form for details.
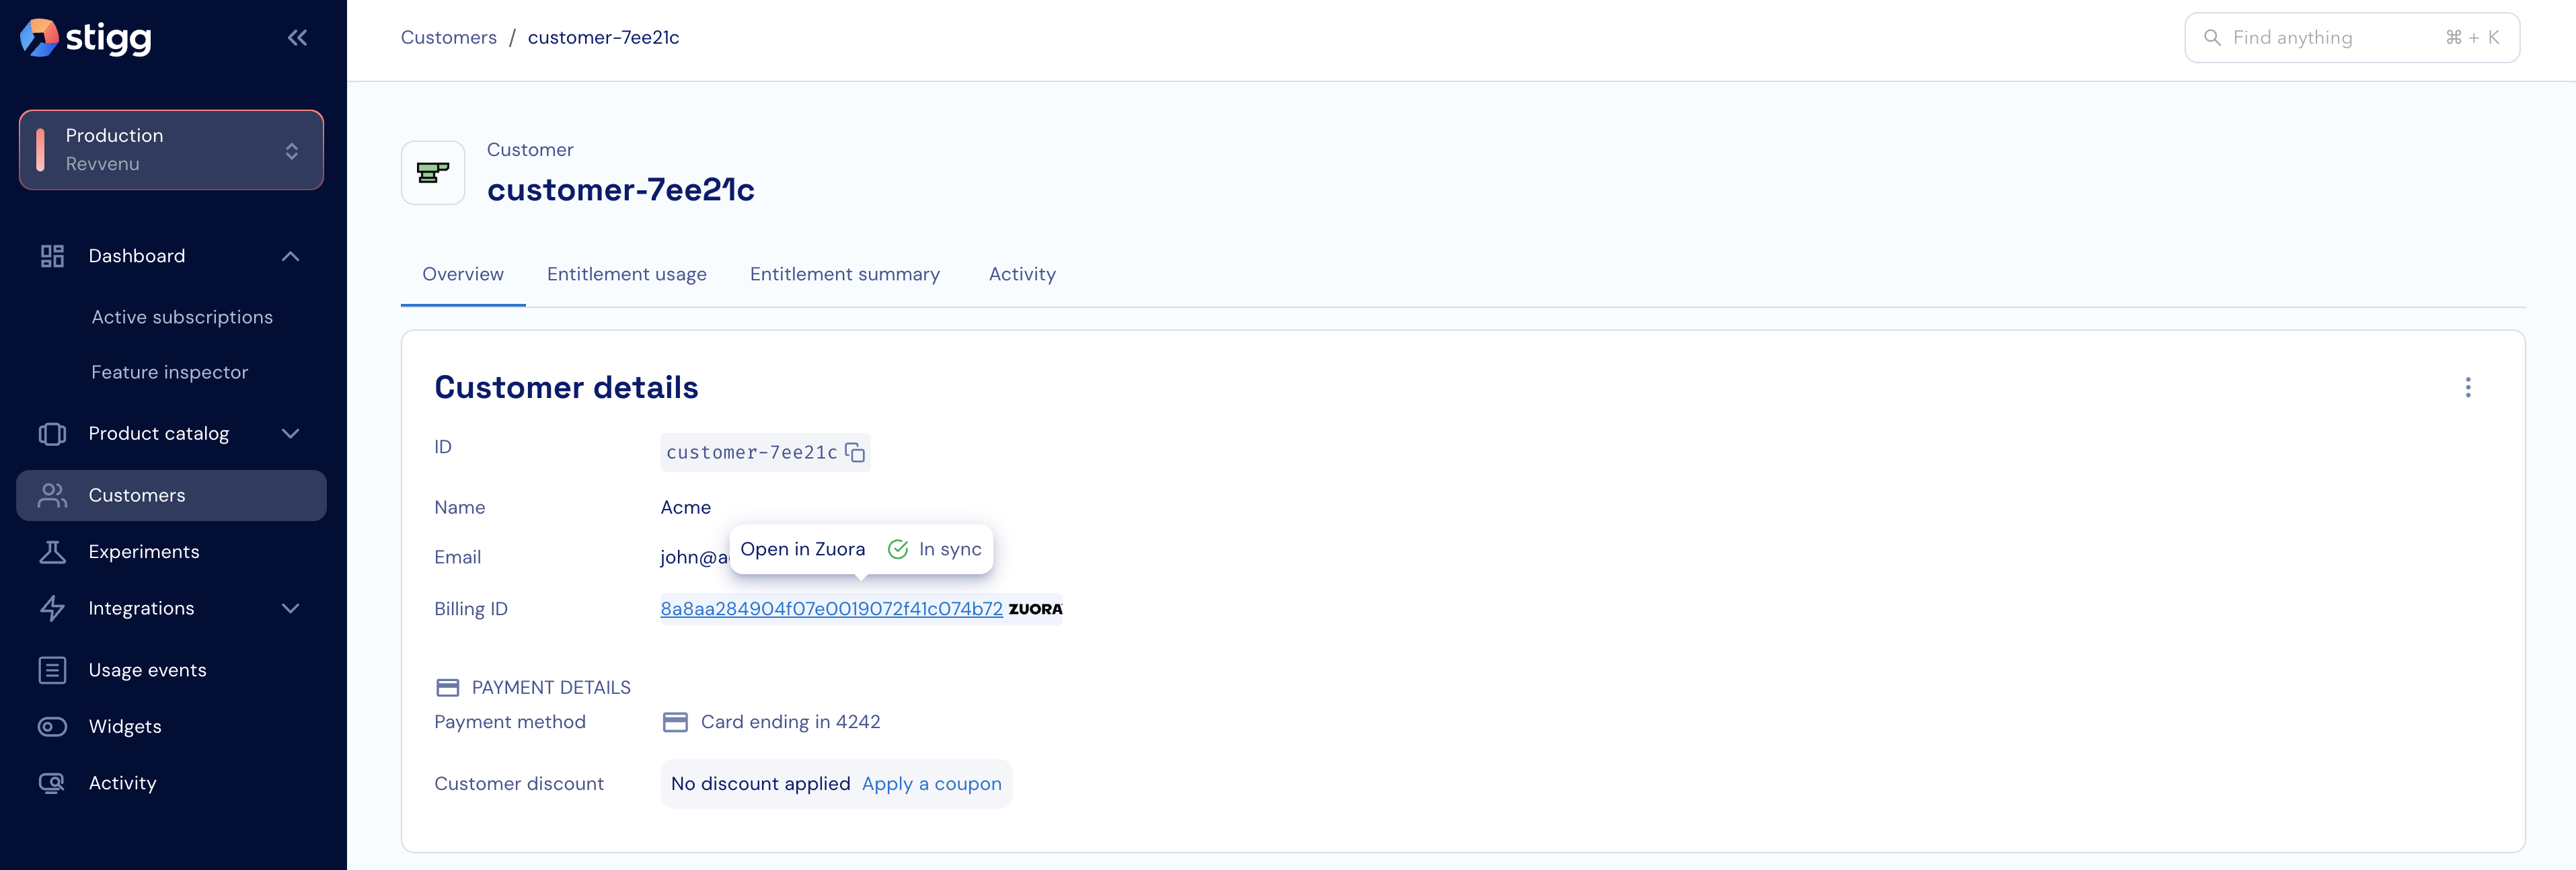
Indication for synced entities
Entities that are synced from Stigg to Zuora have a clickable “billing ID” property with a Zuora logo next to it and indication of their sync status (successful, failed, will not be synced).

Accessing Zuora entities from Stigg
In the Stigg app, clicking on the link of the “billing ID” property will open the relevant entity in Zuora.
Subscription status handling and retry behavior
Status Mapping
| Zuora Status | Stigg Status |
|---|
| Draft | Not handled |
| Pending Activation | Not handled |
| Pending Acceptance | Not handled |
| Active | Active |
| Cancelled | Cancelled |
| Suspended | Not handled |
Retry Behavior
During retries, Stigg keeps the subscription Active until Zuora confirms a terminal state.
Status changes are applied only after receiving a successful update from Zuora.
Removing the integration
To remove the integration, click on the dotted menu icon and select the Remove action.
Confirm the action by clicking on the Remove button in the opened modal.