- A dedicated Error Workflow
- The Stop And Error node for conditional failure control
Setting up an error handler workflow
Use a dedicated workflow to act as a centralized error handler. This lets you respond to workflow failures by sending alerts (e.g. Slack/email), writing to logs, or notifying internal systems.Create an error handler workflow
- Go to Workflows > New Workflow.
- Add the Error Trigger node as the first step.
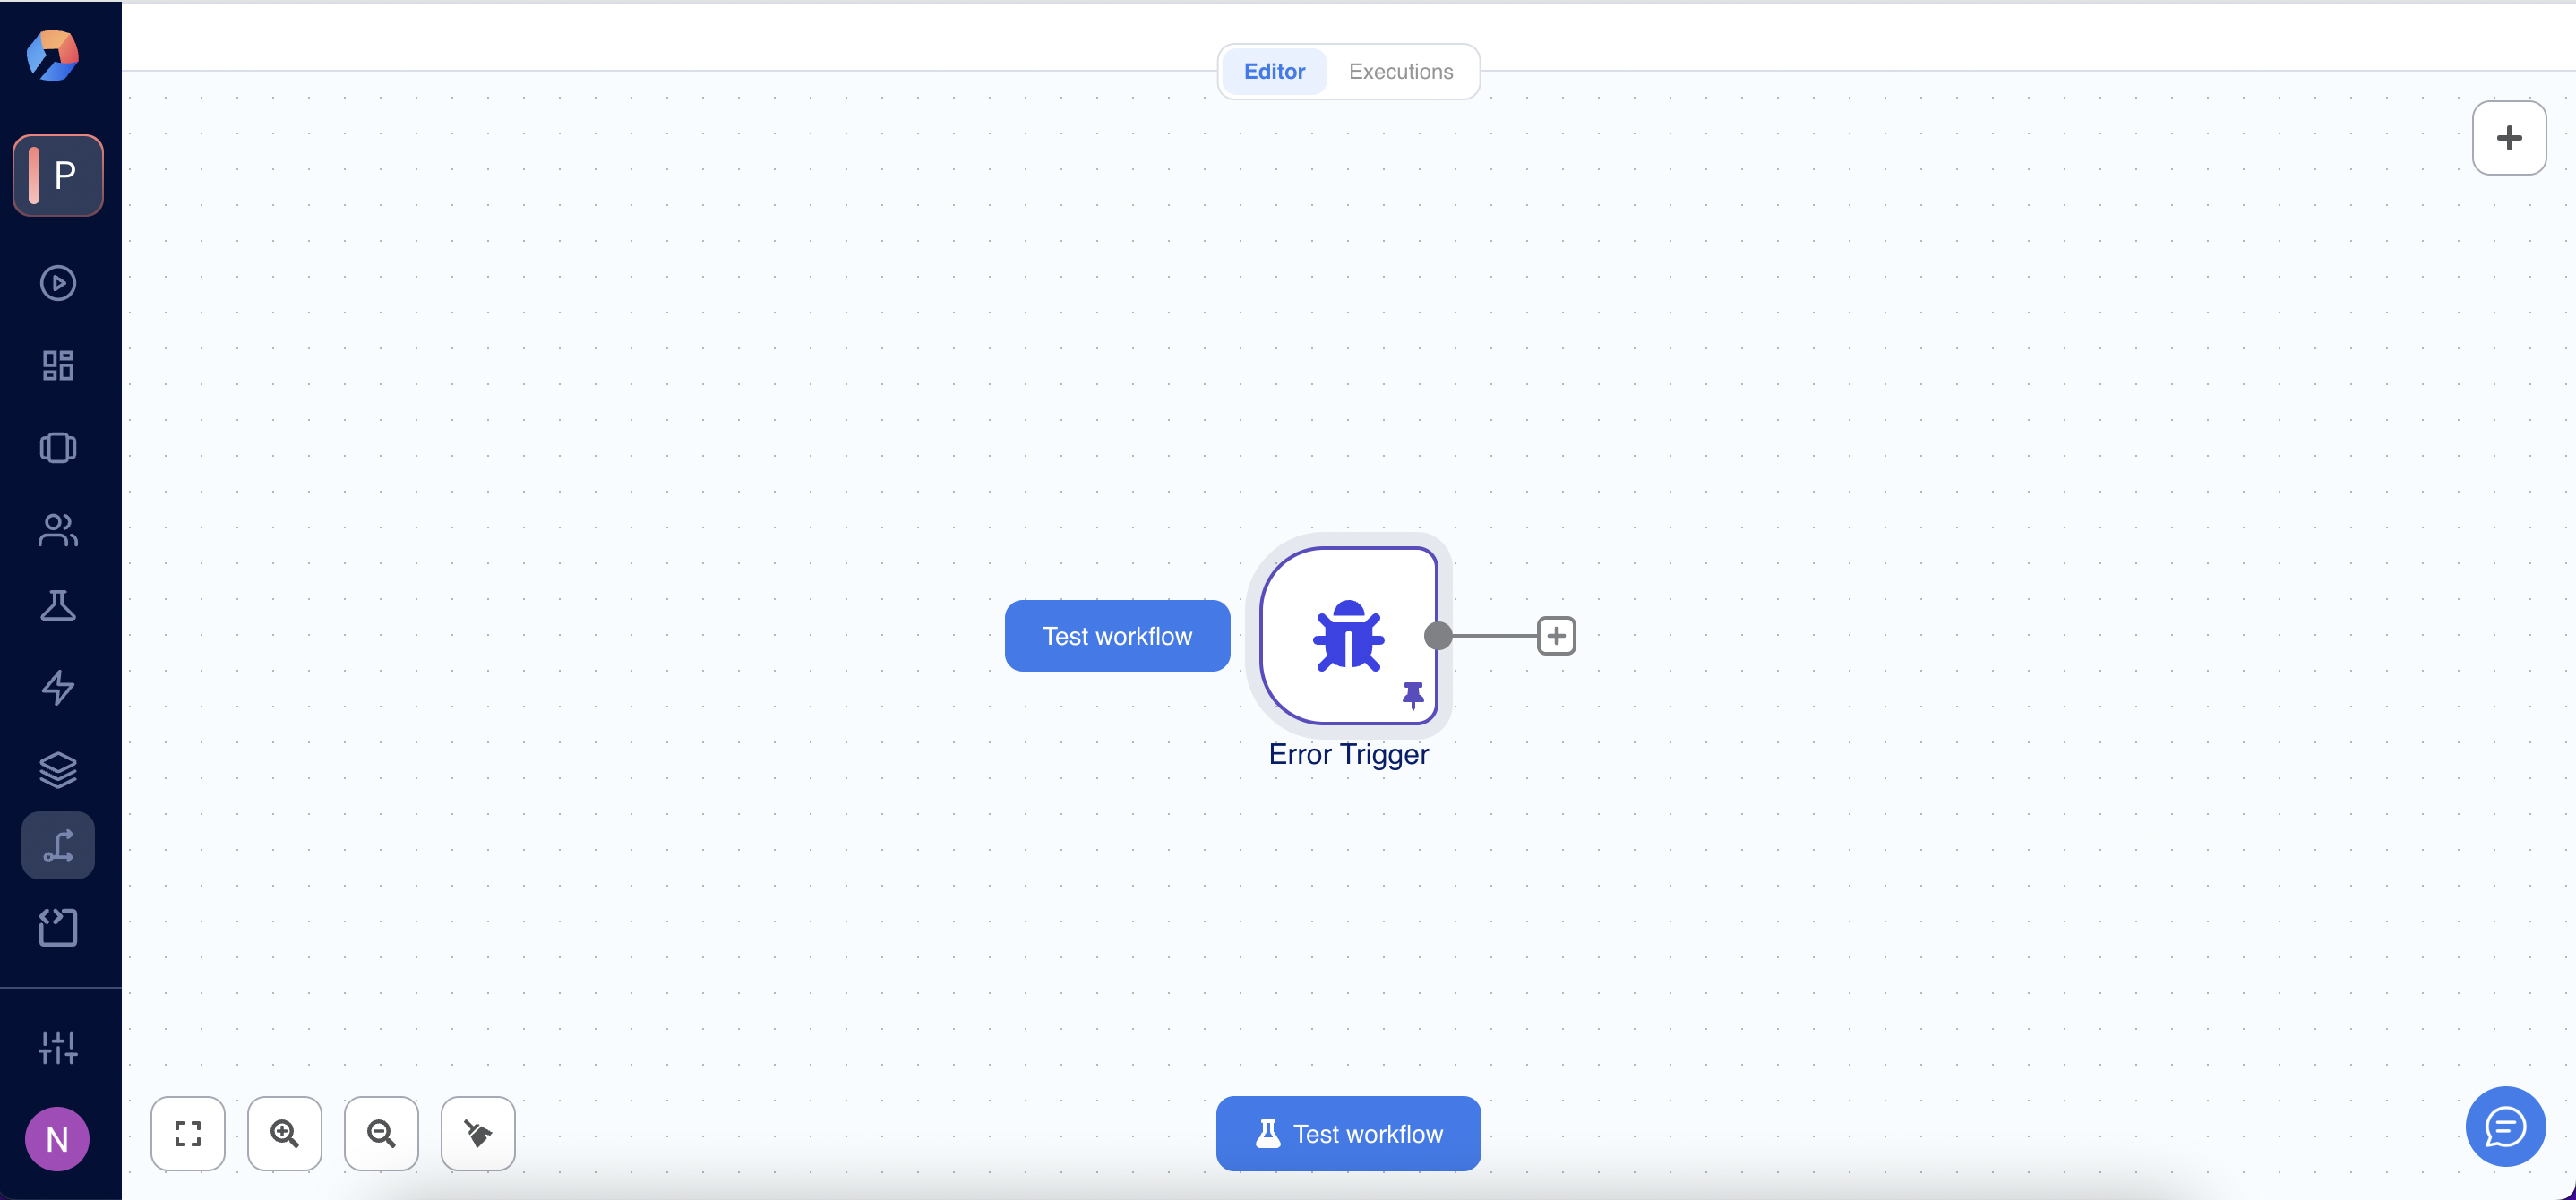
- Add any alerting or logging actions (e.g. send Slack message, send email).
- Name the workflow something like Error Handler.
- Click Back to canvas to save.
Link the error handler to your main workflow
Instead of manually routing errors via nodes, you can automatically run an error handler workflow whenever a failure occurs. To set this up:- Open the main workflow that should be monitored for failures.
- Click the Options (⋮) menu in the top-right corner.
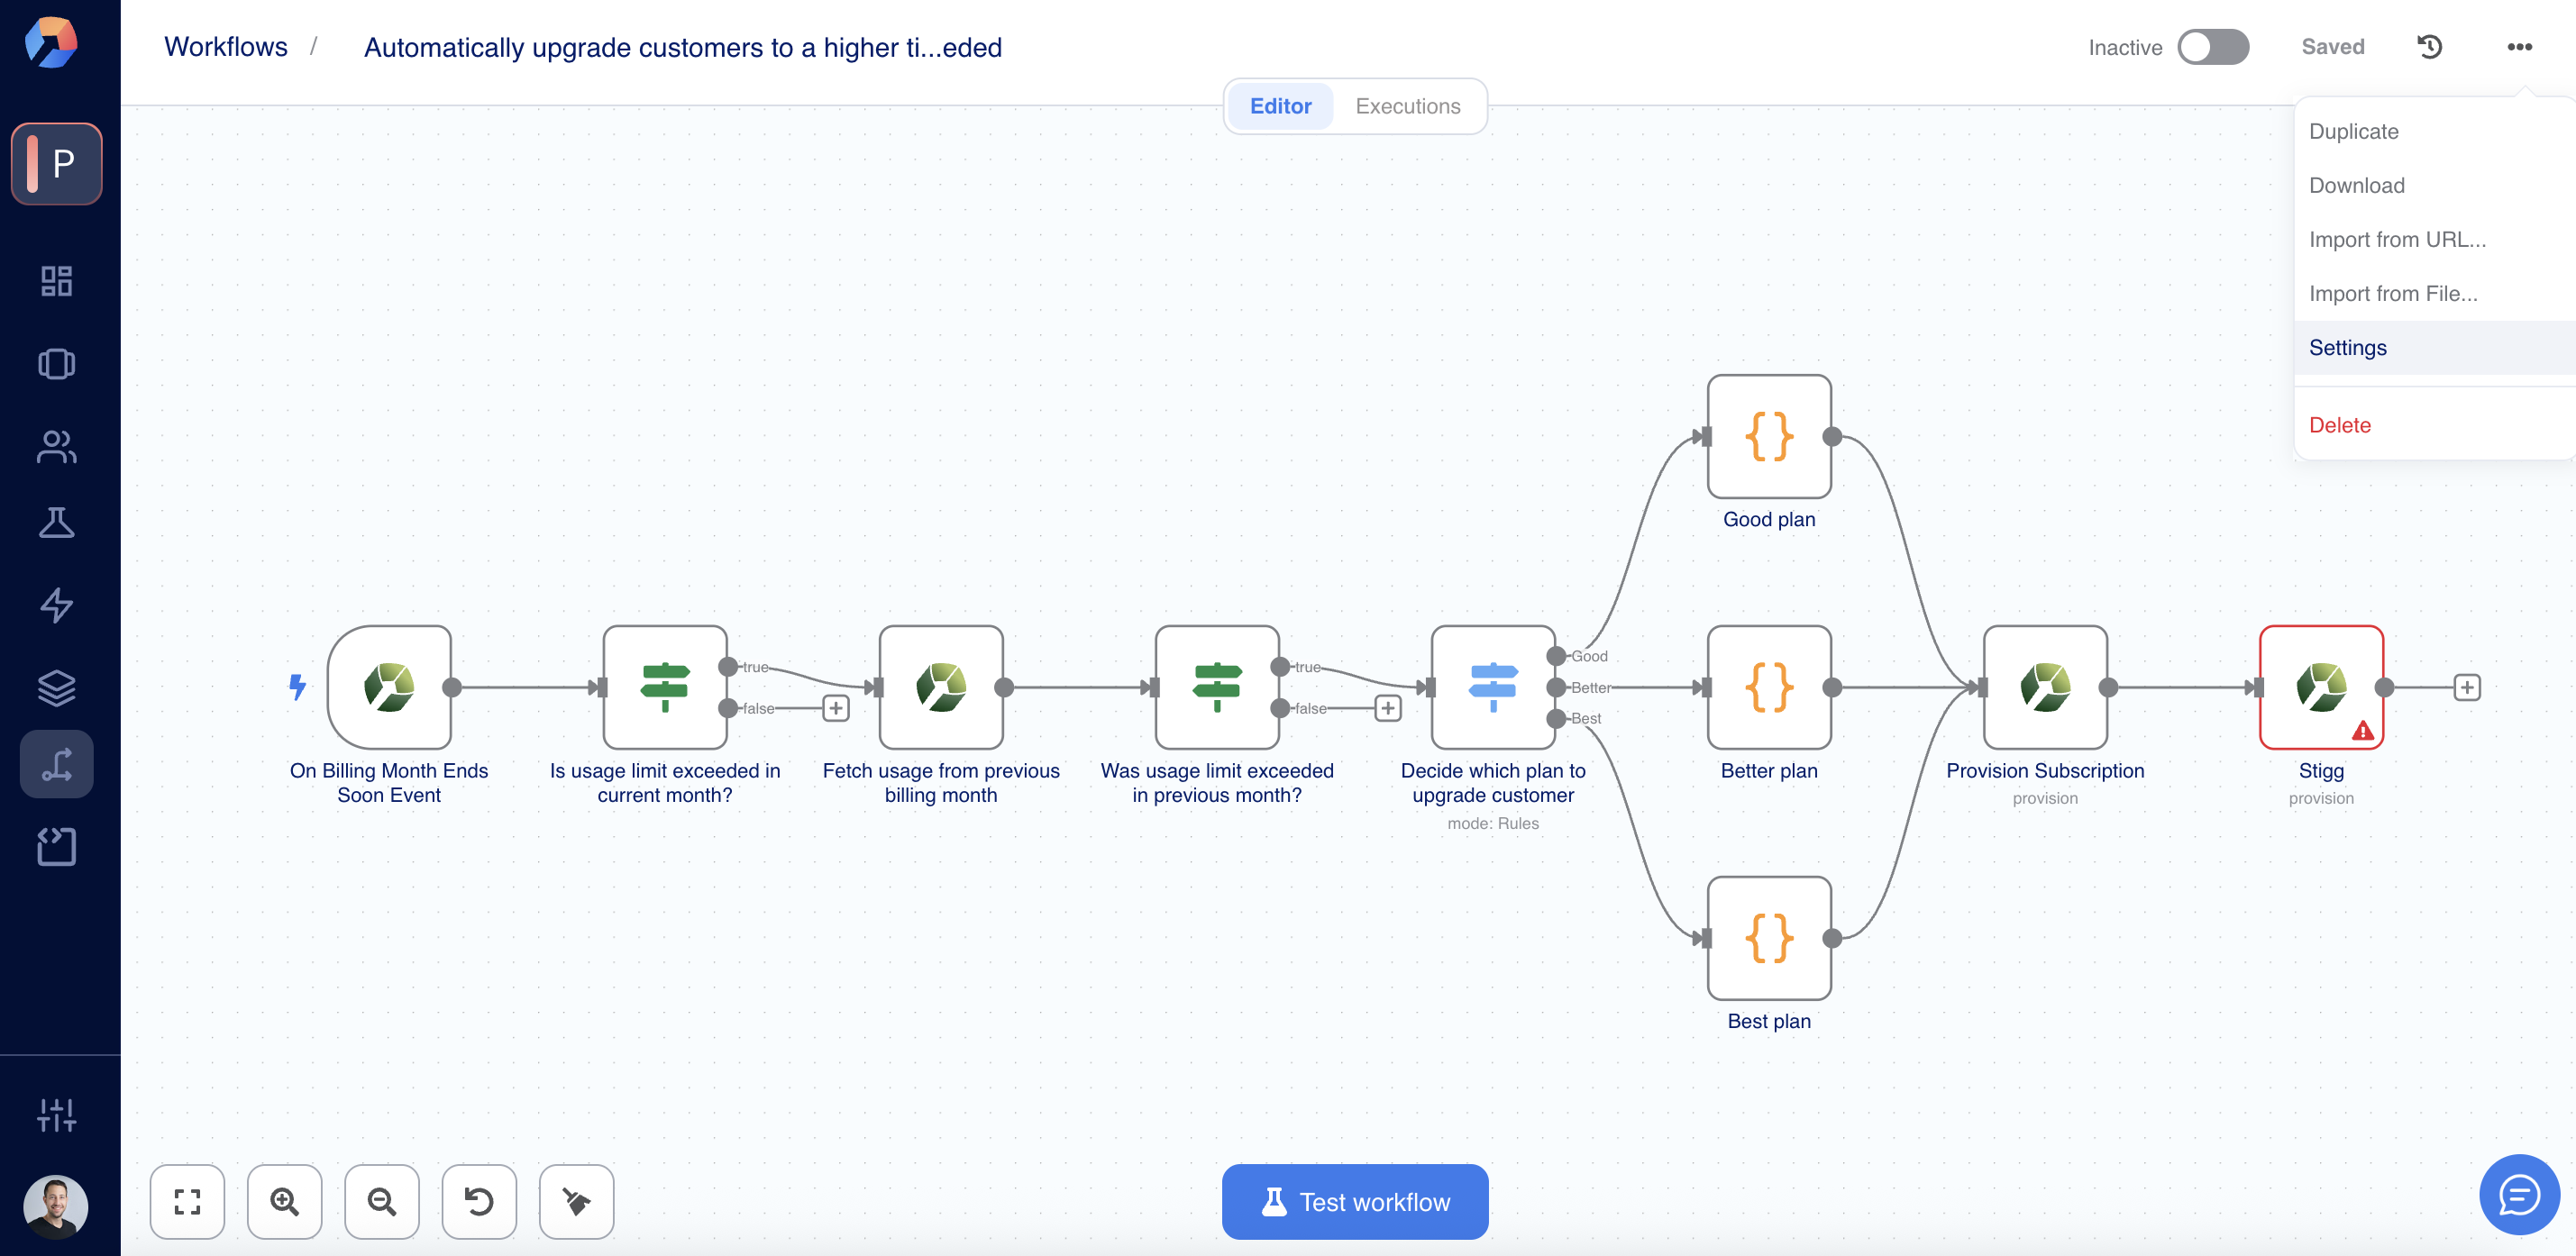
- Select Settings.
- In the Error workflow field, choose the Error Handler workflow you created earlier.
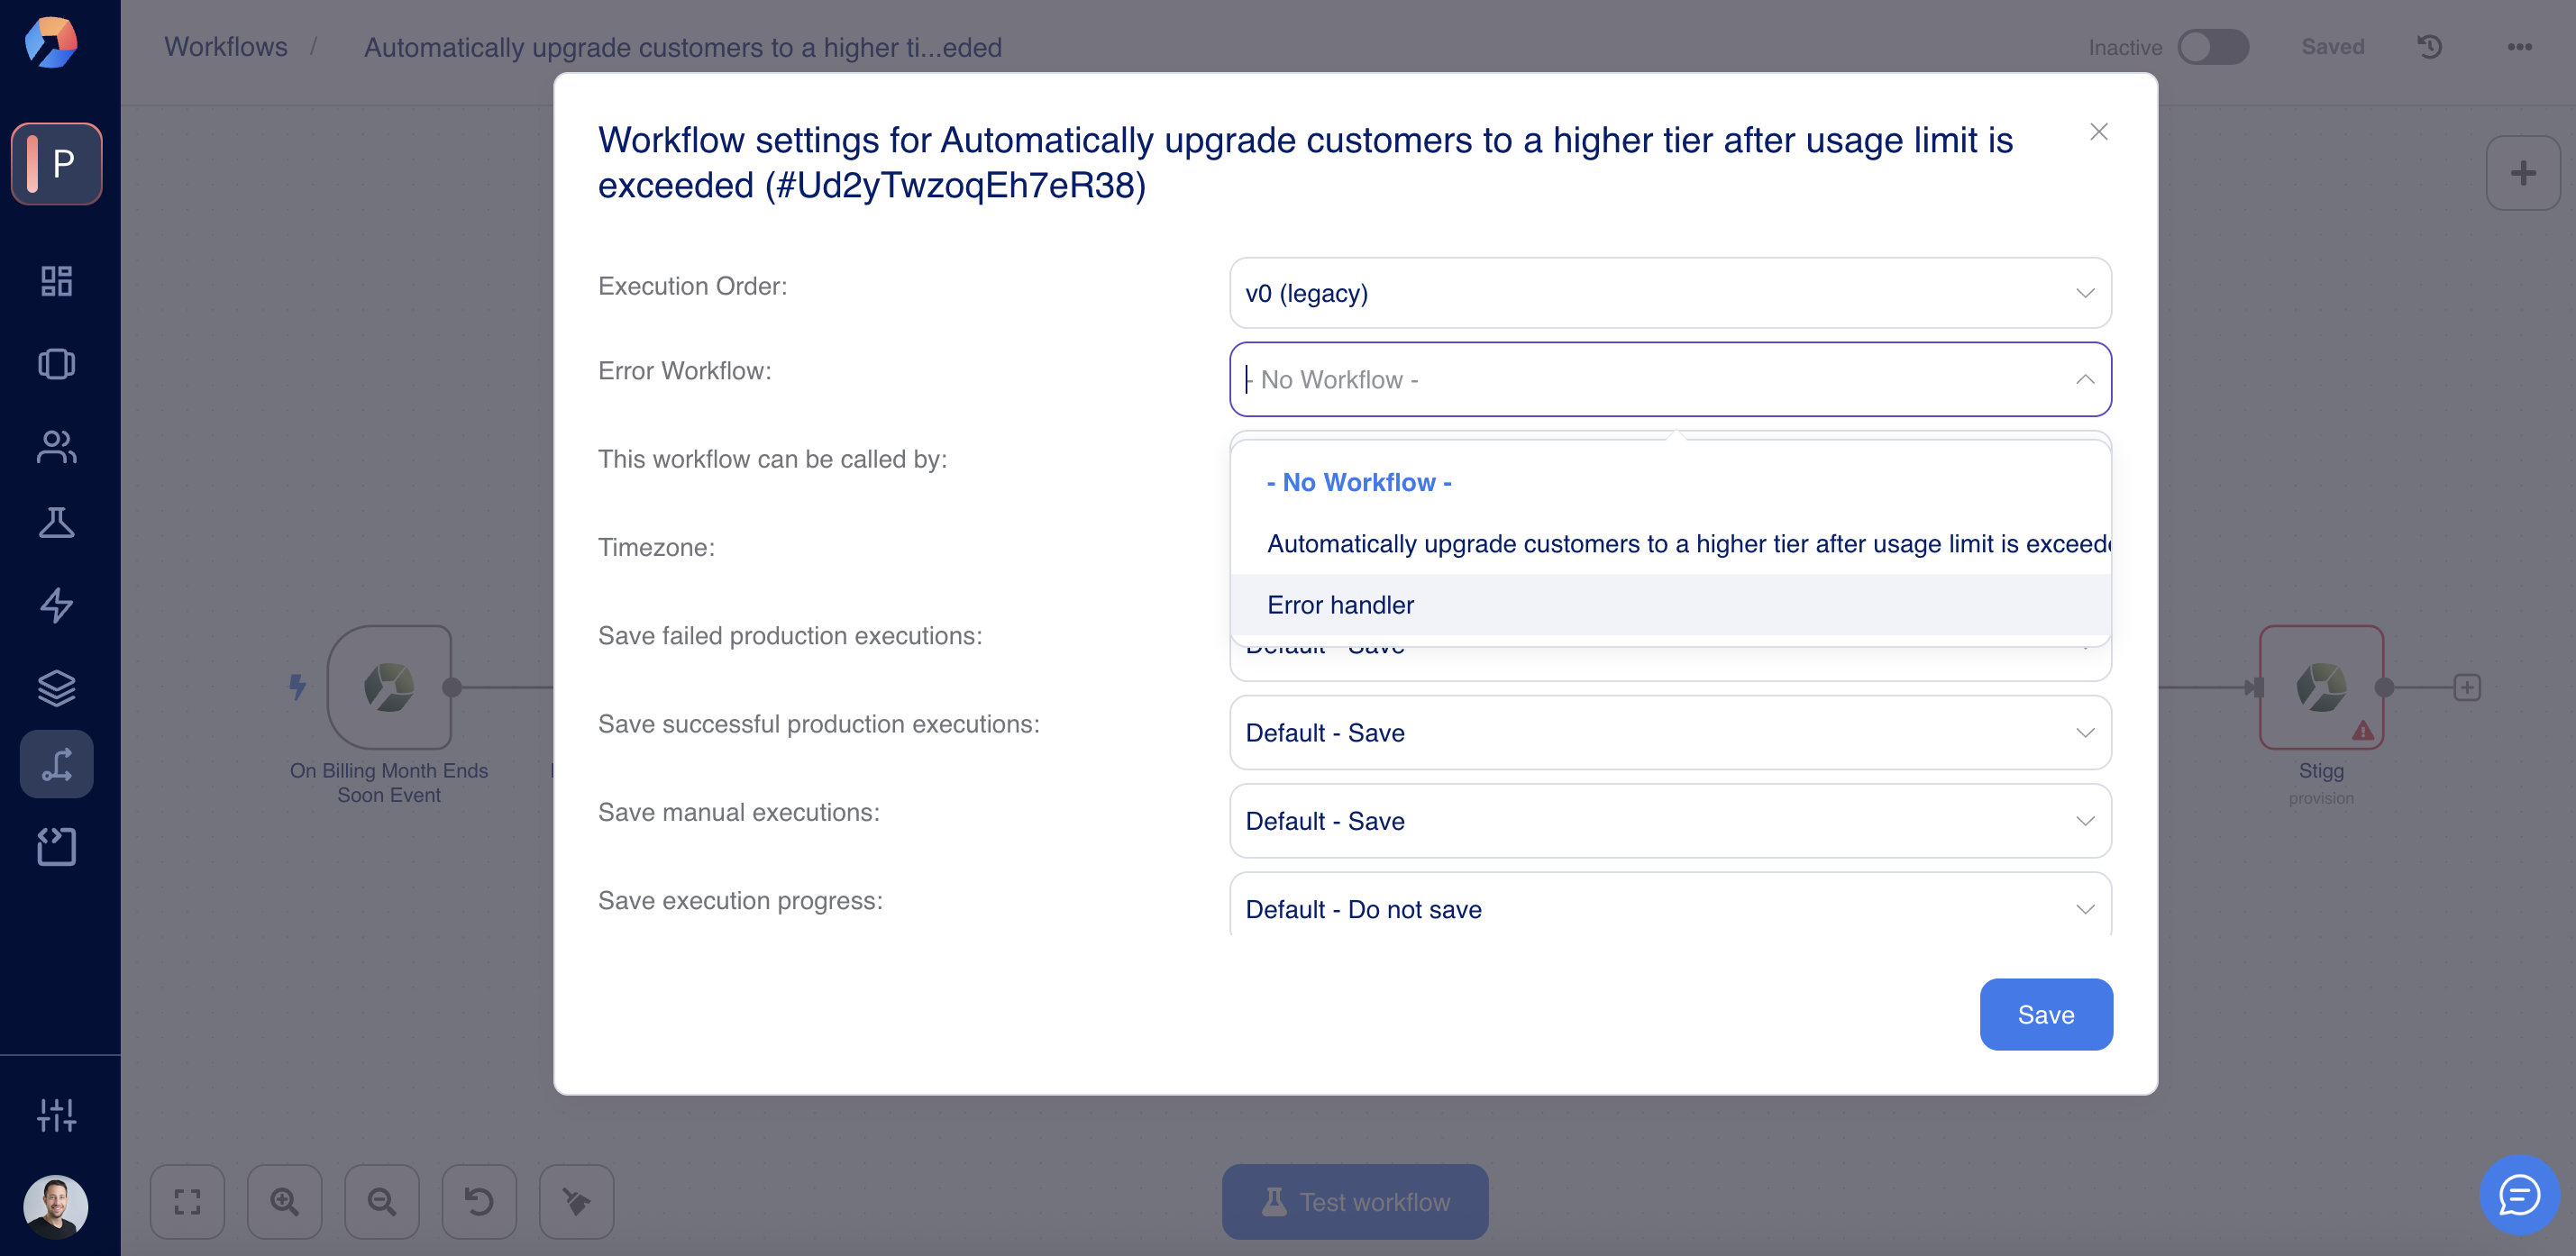
- Click Save.
- Workflows that use the Error Trigger do not need to be activated. They run automatically when a failure occurs.
- If a workflow contains an Error Trigger, it uses itself as the default error workflow unless another is specified.
- The Error Trigger does not run during manual executions. It only activates when the main workflow fails during automatic execution (e.g. via schedule, webhook, or other triggers).
Simulating failures with the Stop And Error node
The Stop And Error node is a utility to intentionally fail a workflow under custom conditions, which can be useful for:- Triggering the error handler in response to business rules (e.g., invalid subscription state)
- Testing how workflows behave when something goes wrong
- Preventing downstream steps from executing when a critical condition fails
- Open your workflow.
- At the appropriate point in the logic (or as a fallback branch), insert a Stop And Error node to force an execution failure under certain conditions.
- In the Parameters tab:
- Choose between Error Message or Error Object.
- For Error Message, enter a plain-text message.
- For Error Object, provide a full JSON structure.
- In the Settings tab, define additional logic if needed.
- Click Back to canvas to save.
Error trigger schema
When a workflow fails and your Error Workflow is triggered, it receives a payload like this:retryOfis only present on retry attemptslastNodeExecutedhelps pinpoint the failing step
Best Practices for Stigg Workflows
- Use one centralized error handler workflow across all critical automations
- Send alerts to Slack/email so teams are immediately aware of failures
- Include user context (e.g.,
customerId,subscriptionId) in Stop And Error nodes for traceability - Avoid leaving workflows in partially-completed states by detecting edge cases early and halting gracefully