Stripe is the fastest way for your business to bill customers with subscriptions or invoices, and accept recurring payments globally.
Stigg’s native integration with Stripe enables:
- Automatic propagation of changes from the Stigg platform to Stripe, including: changes to the product catalog (product, plans and add-ons, coupons), customers, subscriptions and their usage.
- Automatic propagation of changes from Stripe to Stigg, including: subscription cancellations in Stigg when they’re cancelled in Stripe.
- Ability to leverage Stripe’s hosted checkout page for customer checkout process, without needing to perform any additional integration with Stripe.
- Ability to leverage Stripe’s hosted billing portal to allow customers to update their billing details and payment method, as well as view past invoices, without needing to perform any additional integration with Stripe.
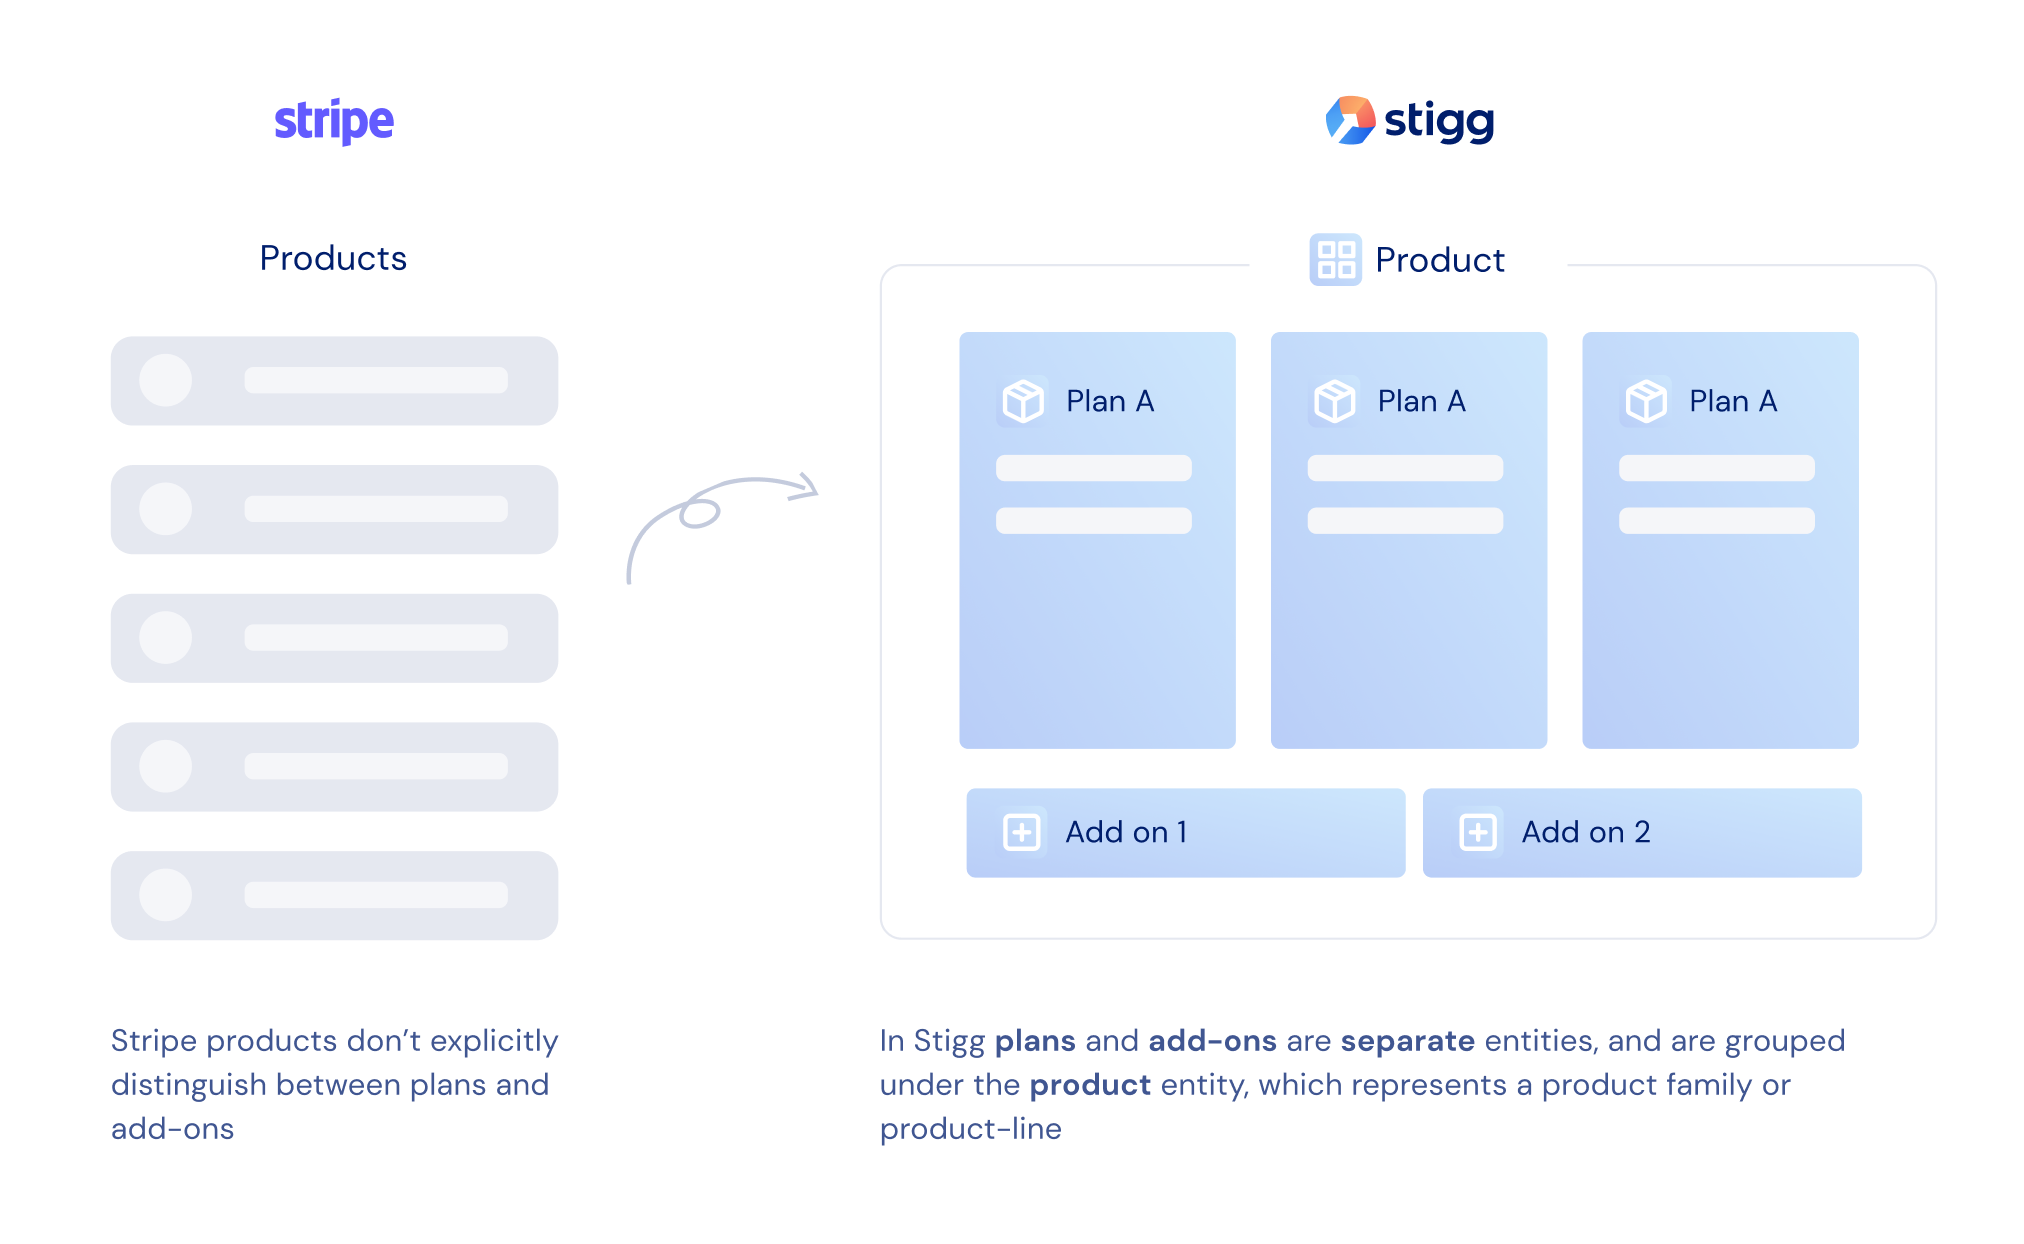
Entity mapping
Stigg entities are mapped to Stripe entities as follows:
| Stigg Entity | Stripe Entity | Stripe Entity Name Format | Notes |
|---|
| Feature | N/A | | |
| Product | N/A | | |
| Plan | Product | <STIGG-PRODUCT> <PLAN-NAME> Plan e.g. Acme Basic Plan | Each plan maps to a Stripe product. Charges are mapped to separate products. Prices are versioned. |
| Add-on | Product | <STIGG-PRODUCT> <ADDON-NAME> Add-on e.g. Acme 10 Seats Add-on | Each add-on maps to a Stripe product. Prices are versioned. |
| Coupon | Coupon | | Archived coupons in Stigg are deleted in Stripe. Existing applied coupons remain active. |
| Customer | Customer | | Customer name/email synced to Stripe. You can override the name for invoice purposes. |
| Subscription | Subscription | | Includes line items per charge and add-on. Max 500 active subscriptions per Stripe customer. |
Entities that are not synced to Stripe
| Entity | Not synced to Stripe when… |
|---|
| Customer | Customer doesn’t have any subscription |
| Customer only has subscriptions to free plans |
| Customer only has trial subscriptions |
| Customer only has subscriptions to plans with a custom price |
| Customer’s billing information is not sent to Stigg |
| Customer doesn’t have a payment method define in the billing solution |
| Syncing of customers is disabled in the environment |
| Subscription | Subscription is for a free plan |
| Subscription is for a trial plan |
| Subscription is for a plan with a custom price |
| Syncing of subscriptions is disabled in the environment |
Syncing customer usage to Stripe
When customers are subscribed to plans with pay-as-you-go usage-based charges, Stigg automatically syncs their data (usage and total amount) to Stripe upon invoice generation.
Stigg requires at least a 1 hour invoice finalization grace period to be configured in Stripe, which is also Stripe’s default configuration. Setting up the integration
In the Stigg app, under the Settings > Integrations > Apps section, select the Stripe connector.
1. Choose the Stripe environment
Select the environment that matches your use case:
| Environment | When to use |
|---|
| Sandbox | Evaluating Stigg. Uses a shared Stripe sandbox environment - no real money, no real customers. |
| Test mode | Active development. Uses your own Stripe account in test mode. |
| Live (Production) | Ready to bill real customers with live Stripe data. |
2. Authorize in Stripe
You’ll be redirected to Stripe. Sign in, select the Stripe account you want to link, review the permissions Stigg requests, and click Install app.
The Stripe account mode must match the environment you selected in Stigg. Sandbox installs only work with a Stripe Sandbox account, Test mode only with a Stripe test account, and Live only with a live Stripe account.If you created a new Stripe account recently, it may default to Sandbox mode. Switch to the correct mode using the account dropdown in the top-right corner of the Stripe Dashboard before installing.
3. Connection confirmed
After authorizing, you’ll be redirected back to Stigg. The integration status will show as Active, along with your Stripe account name, account ID, and integration ID.
If you connected Stripe before this update, your existing connection continues to work with no action required.
Permissions requested
During install, Stripe shows a consent screen listing the access Stigg requires. These permissions cover the full sync between Stigg and Stripe - catalog, customers, subscriptions, billing, and webhooks.
| Permission | Access |
|---|
| Account and user information | Read-only |
| Accounts | Read-only |
| Charges and Refunds | Read-only |
| Checkout Sessions | Read and write |
| Coupons | Read and write |
| Customers | Read and write |
| Elements | Read and write |
| Events | Read-only |
| Invoices | Read and write |
| Payment Intents | Read-only |
| Payment Methods | Read and write |
| Prices | Read and write |
| Products | Read and write |
| Promotion Codes | Read-only |
| Setup Intents | Read and write |
| Sources | Read-only |
| Subscriptions | Read and write |
| Tax Rates | Read and write |
| Test clocks | Read-only |
| Tokens | Read-only |
| Usage Records | Read and write |
| Webhook Endpoints and Event Destinations | Read-only |
| External access | Data sharing |
Indication for synced entities
Entities that are synced from Stigg to Stripe have a clickable “billing ID” property with a Stripe logo next to it and indication of their sync status (successful, failed, will not be synced).

Accessing Stripe entities from Stigg
In the Stigg app, clicking on the link of the “billing ID” property will open the relevant entity in Stripe.

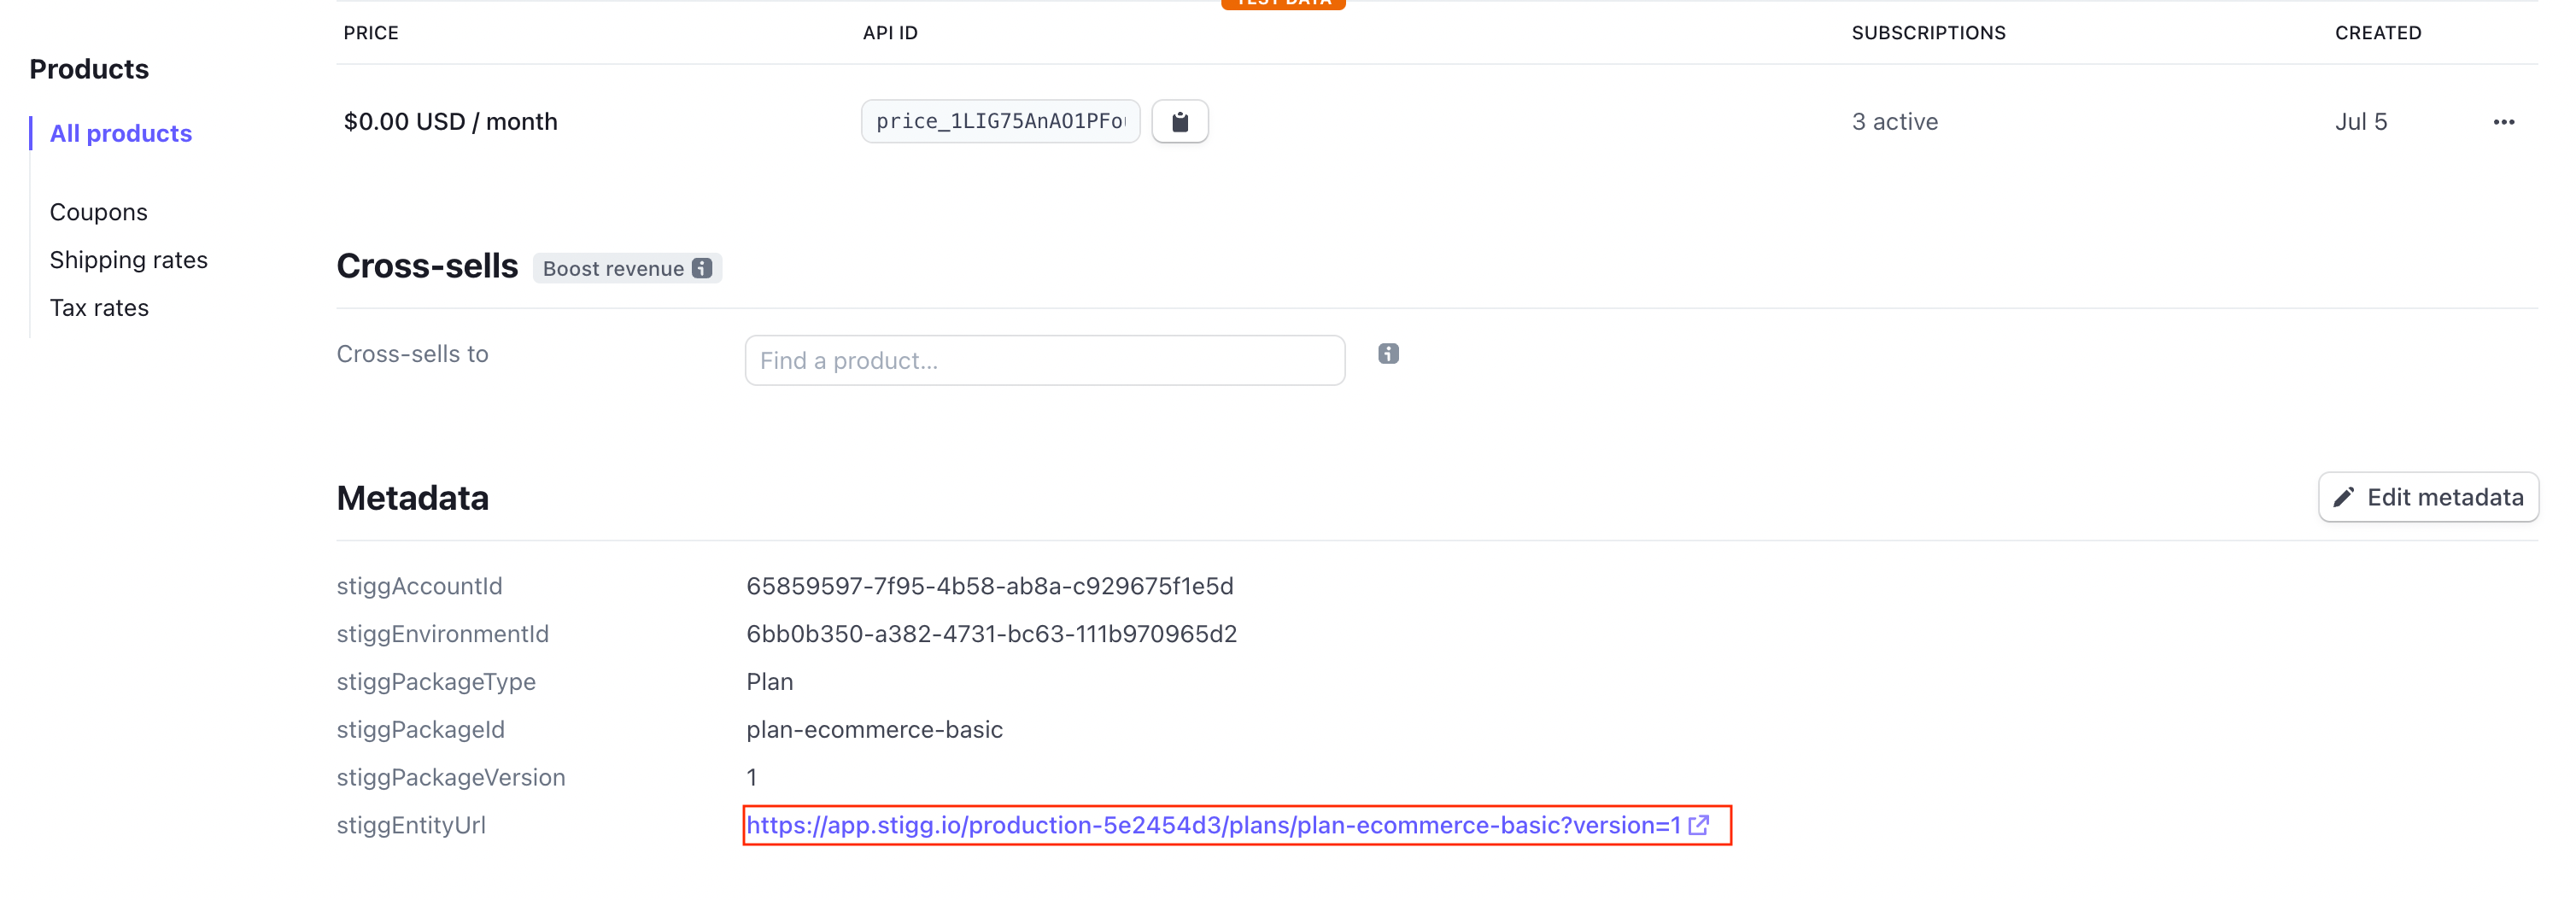
Accessing Stigg entities from Stripe
In Stripe, under the Metadata section of the relevant entity, click on the link that appears under the “stiggEntityUrl” field.
Integration with Stripe Billing Portal
When Stigg is integrated with Stripe and using Stigg’s Customer Portal widget, customers can update their billing information and view previous invoices directly from Stripe’s Billing Portal (when it’s enabled).
To ensure that the functionality of Stigg’s Customer Portal doesn’t collide with that of Stripe’s Billing Portal, it’s recommended to configure Stripe’s Billing Portal as follows:
- Launch customer portal with a link - enabled
- Invoices
- Invoice history - enabled
- Customer information - enabled
- Name - unchecked
- Email address - unchecked
- Billing address - checked
- Phone number - optional
- Tax ID - optional
- Payment methods
- Payment method - enabled
- Cancelations
- Cancel subscriptions - disabled
- Pause subscriptions - disabled
- Subscriptions
- Switch plans - disabled
- Update quantities - disabled
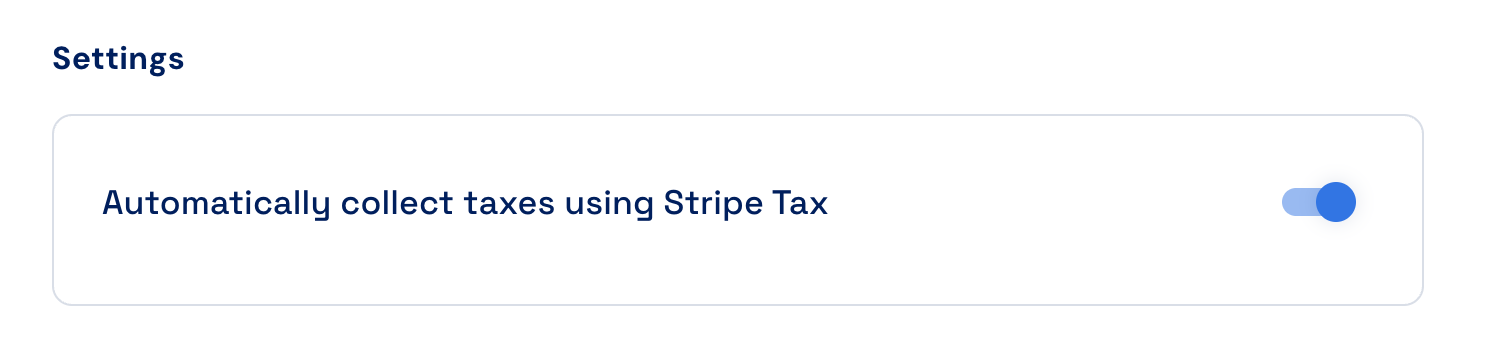
Integration with Stripe Tax
Stigg can be integrated with Stripe Tax to automatically calculate customer tax rates during checkout sessions, provisioning and updating of subscriptions.
Before the integration can be enabled, please make sure to set up Stripe Tax.
To enable the integration, simply toggle on the configuration in the Stripe integration details:
Removing the integration
To remove the integration, click on the dotted menu icon and select the Remove action.
Confirm the action by clicking on the Remove button in the opened modal.