Overview
A freemium pricing model allows you to offer customers limited functionality of your product for free and charge them a premium for supplemental or advanced features. Conversion between the free limited functionality and the advanced features is achieved by gating access to features after the customer has reached a specific limit, as well as by gating access to the advanced features The freemium model allow your customers to try your product and see value before they need to make a purchase decision, which results in increased product stickiness and reduced churn. The main difference between a freemium model and a free trial is that in the freemium model customers dictate when they’ll need to make a purchase decision, where as in free trials this determined according to the number of days in the trial period. Stigg allows you to implement a freemium model without requiring additional code changes in your application.Not sure whether to implement a freemium model, free trial or reverse trial? Leverage Stigg to experiment between the trial different flows and learn which flow has a better conversion rate.
Implementing a freemium model using Stigg
Create free and paid plans
To implement a freemium model using Stigg, create a free plan and one or more paid or custom plans.
Assign entitlements to plans
When assigning entitlements to the free plan, set limits that will allow customers to see your product’s value, but just enough that will encourage them to pay in order to gain more access to your product’s features.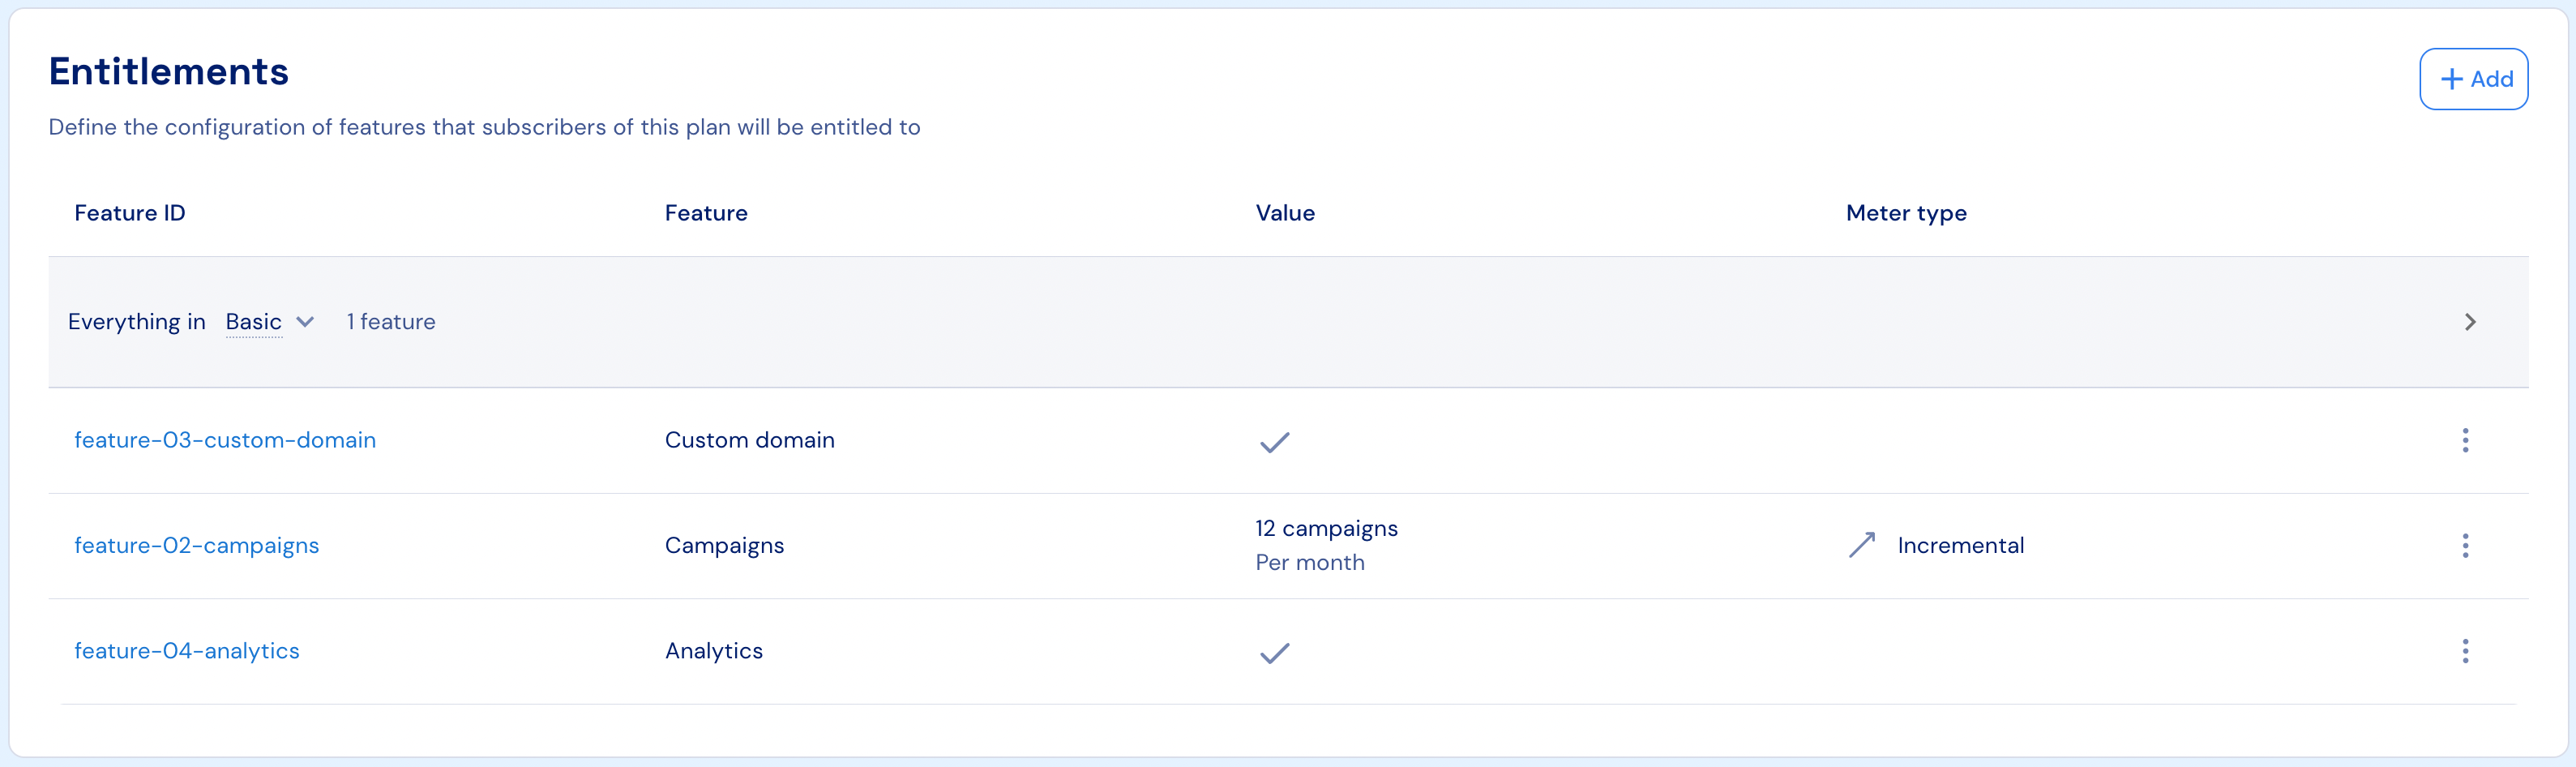
Not sure which limits to set in the free plan? Leverage Stigg’s Feature Inspector to gain insights customers’ feature usage in each plan and optimize limits in order to drive conversion.
Report feature usage
Whenever customers consume a certain feature, report this usage to Stigg in order to allow enforcement and gating for that feature.Backend Integration
Enforce feature access
Stigg offers an API, as well as backend and frontend SDKs for enforcing customer access to features according to their entitlement for those features.Codebase Integration Overview
Offer an in-app upgrade experience
When customer attempt to access a gated feature, it’s useful to allow them to resolve the issue within the context of their action by offering them the ability to upgrade to a paid plan. The in-app upgrade experience can be fully self-served, as well as one that requires an interaction with a sales representative. Stigg offers embeddable widgets that can be used offer customers with an in-app upgrade experience.Plan Upgrade Selection (In-App)
Self-Service Expansion via Customer Portal
Seamless Checkout & Payments
Automatic downgrade to a free plan
When a freemium model is implemented, it’s common to allow customers to downgrade to the free plan when they cancel a paid subscription and when a free trial ends. This behavior allows them to continue seeing value in the product, and encourages them to upgrade to a paid plan when they need to access additional functionality. Stigg allows you to control the subscription and trial end behavior, and specifically to automatically downgrade customers to a free plan upon these events. To do so, select the relevant product in the Product Catalog > Products section. Under the “Customer Journey” section and the “Trial end / subscription cancelation” column, select “When a customer’s subscription ends, downgrade them to a free plan”. Select the free plan that the customer will be downgraded to. Click “Publish changes” Confirm the action by clicking “Publish”.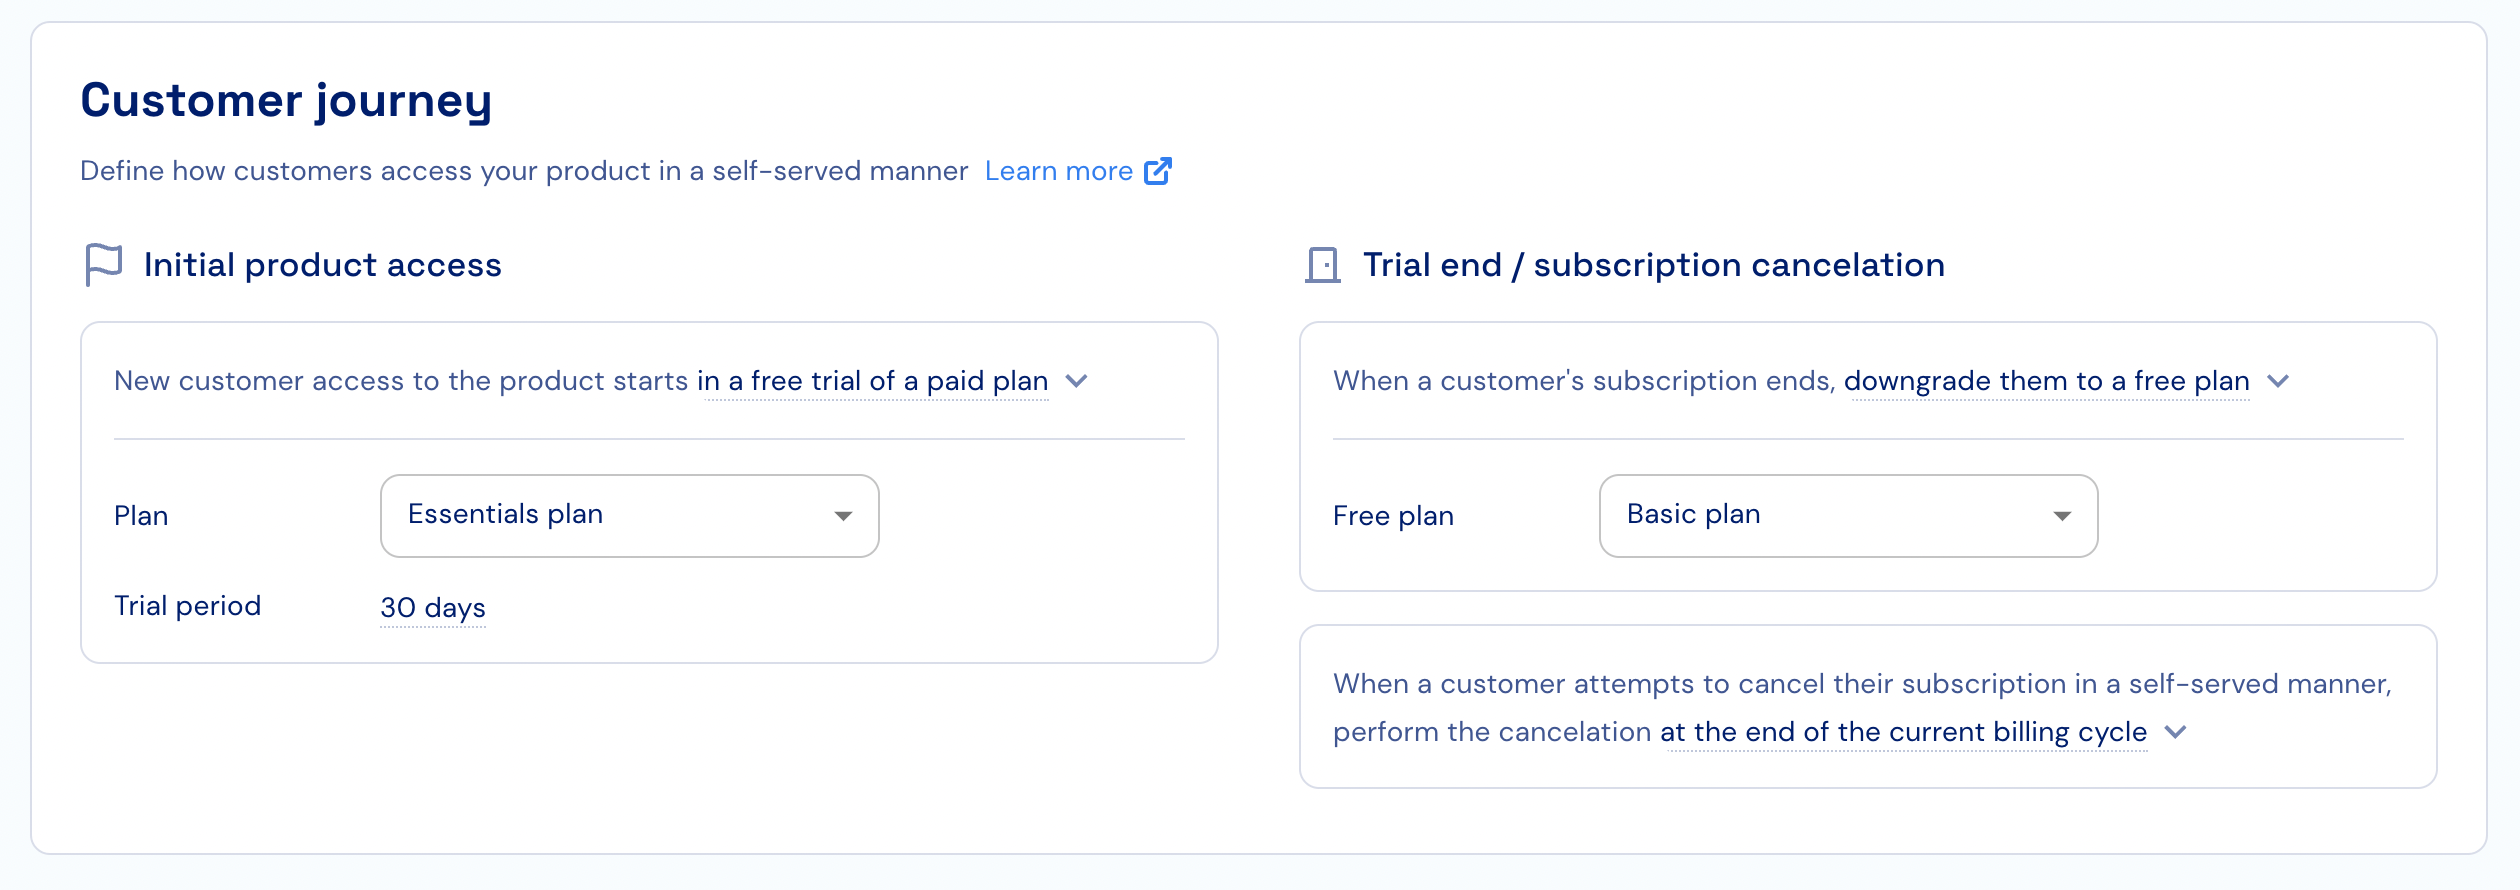
More details about the Customer Journey configuration can be found here.