Viewing the list of webhooks
The list of available webhooks is available under the Settings > Integrations > Webhooks section.Adding a new webhook
To add a webhook, click on the + New webhook button from the webhook list screen. In the opened modal enter the following details:- Service name - a human-friendly name of the service that will process the events, for example: Zapier, Segment, etc.
- Endpoint URL - the URL of the endpoint that the webhook events should be sent to.
- Events to send - the list of events that Stigg will send to this webhook.
Created webhooks are immediately activated; that is, Stigg will start streaming events to them immediately after they’re created. To disable sending of events to a specific webhook, see the “Disabling webhooks” section.
Viewing webhook details
To view the details of specific webhook, click on the relevant row in the webhook list screen.Stigg will include a webhook secret in the header of sent events. Use this value to validate that requests to the defined endpoint URL originate from Stigg.
Sending test events
In order to test the webhook integration, it’s possible to trigger a test event. To do so, click on the dotted menu icon of the relevant event, select the Send test event action. Click on Send test event to confirm the action. In the opened modal it’s possible to see the request body and response from the configured endpoint.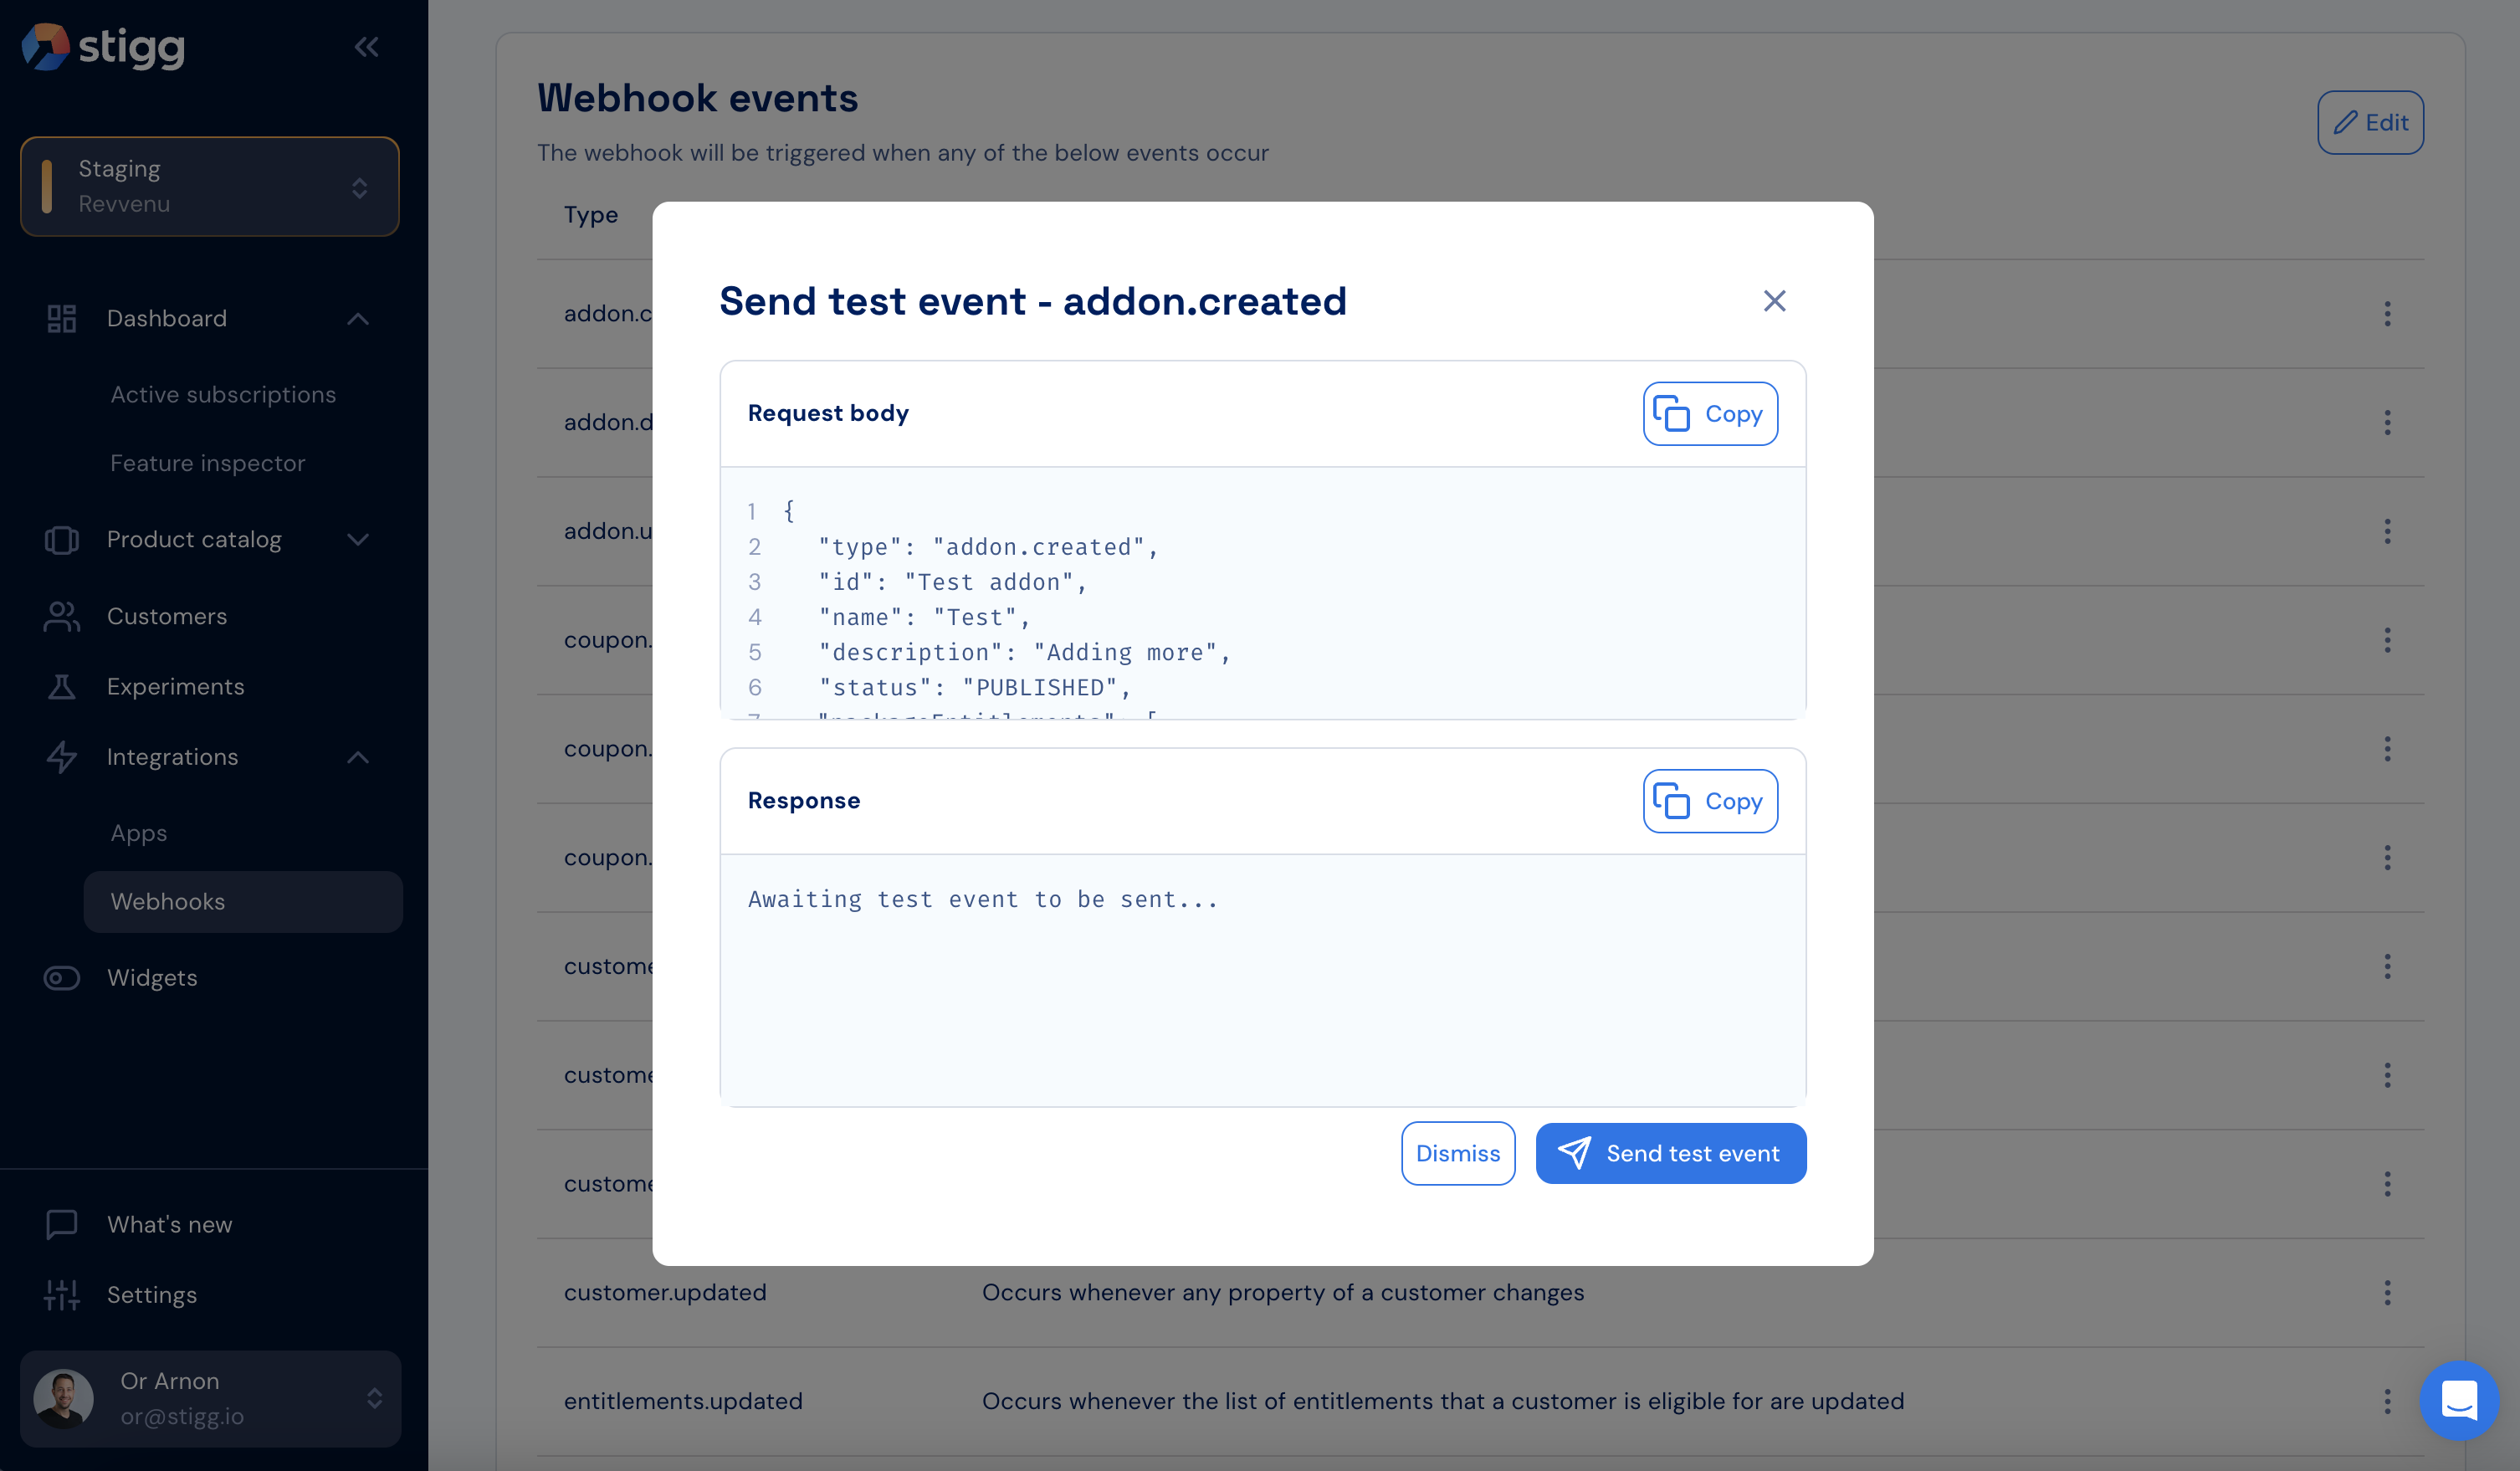
Verifying webhook secret
To verify that the event was sent by Stigg you can validate the secret in the header. Each webhook event you receive contains the webhook secret in the header under theStigg-Webhooks-Secret property:


Support for webhook validation using HMAC signatures is in our roadmap.
Webhook behavior
Event order
Stigg does not guarantee delivery of events in the order in which they’re reported. Your endpoint shouldn’t expect delivery of these events in a specific order, and needs to handle their delivery accordingly. When additional data is required, you can fetch it programmatically:- REST API
- GraphQL (legacy)
Use the Stigg REST API or REST SDKs to fetch additional data.
Retries
Stigg requires that all webhooks events return a successful HTTP response (2XX) within 30 seconds. If the request returns an error or times out, Stigg will automatically retry to send the webhook event according to the below logic:- 3 consecutive retries without backoff
- 3 retries every 30 seconds
Idempotency and de-duplication
To prevent processing the same event multiple times, utilize themessageId field provided in each webhook event. This unique identifier ensures idempotency by allowing you to track and ignore duplicate events.
When your system receives a webhook, check the messageId against previously processed IDs. If the messageId has already been processed, discard the event to avoid redundant operations.
Webhook IP addresses
Webhook events may originate from the following IP addresses:This list may change. We’ll notify you when it does.
Editing webhooks
Editing the webhook details
To edit the webhook’s endpoint URL and description:- Click on the dotted menu icon of the relevant row.
- Select the Edit action.
- Apply the desired changes.
- Click on Save changes.
Editing the list of sent events
To edit the list of events that are sent to the endpoint:- Click on the Edit button under the Webhook events section.
- Add or remove events under the Events to send section.
- Click on Save changes.
Disabling webhooks
To stop sending events to a specific webhook, while still keeping the webhook configuration, set the toggle that appears under the webhook details section to Disabled. Confirm the action in the opened modal.Any events that take place on the Stigg platform will not be send to disabled webhooks. It’s also not possible to replay missed events after the webhook is activated again.
Deleting webhooks
To delete a configured webhook:- Click on the dotted menu icon of the webhook details section.
- Select the Delete action.
- Confirm the action in the opened modal.