> ## Documentation Index
> Fetch the complete documentation index at: https://docs.stigg.io/llms.txt
> Use this file to discover all available pages before exploring further.
# Workflow creation
You can create workflows directly in the [Stigg app](https://app.stigg.io) by clicking **Workflows** in the left navigation panel.
There are two primary ways to get started.
## Starting from a template
To help you get up and running quickly, Stigg provides pre-built workflow templates for common use cases.
When you go to create a new workflow, you’ll have the option to choose from these templates. Each template comes with a predefined set of nodes and logic, which you can then customize to fit your exact needs. The [example use-cases](#example-use-cases) described earlier (promotional entitlements, auto-upgrades, trial extensions, etc.) are all available as templates.
To create a workflow from a template:
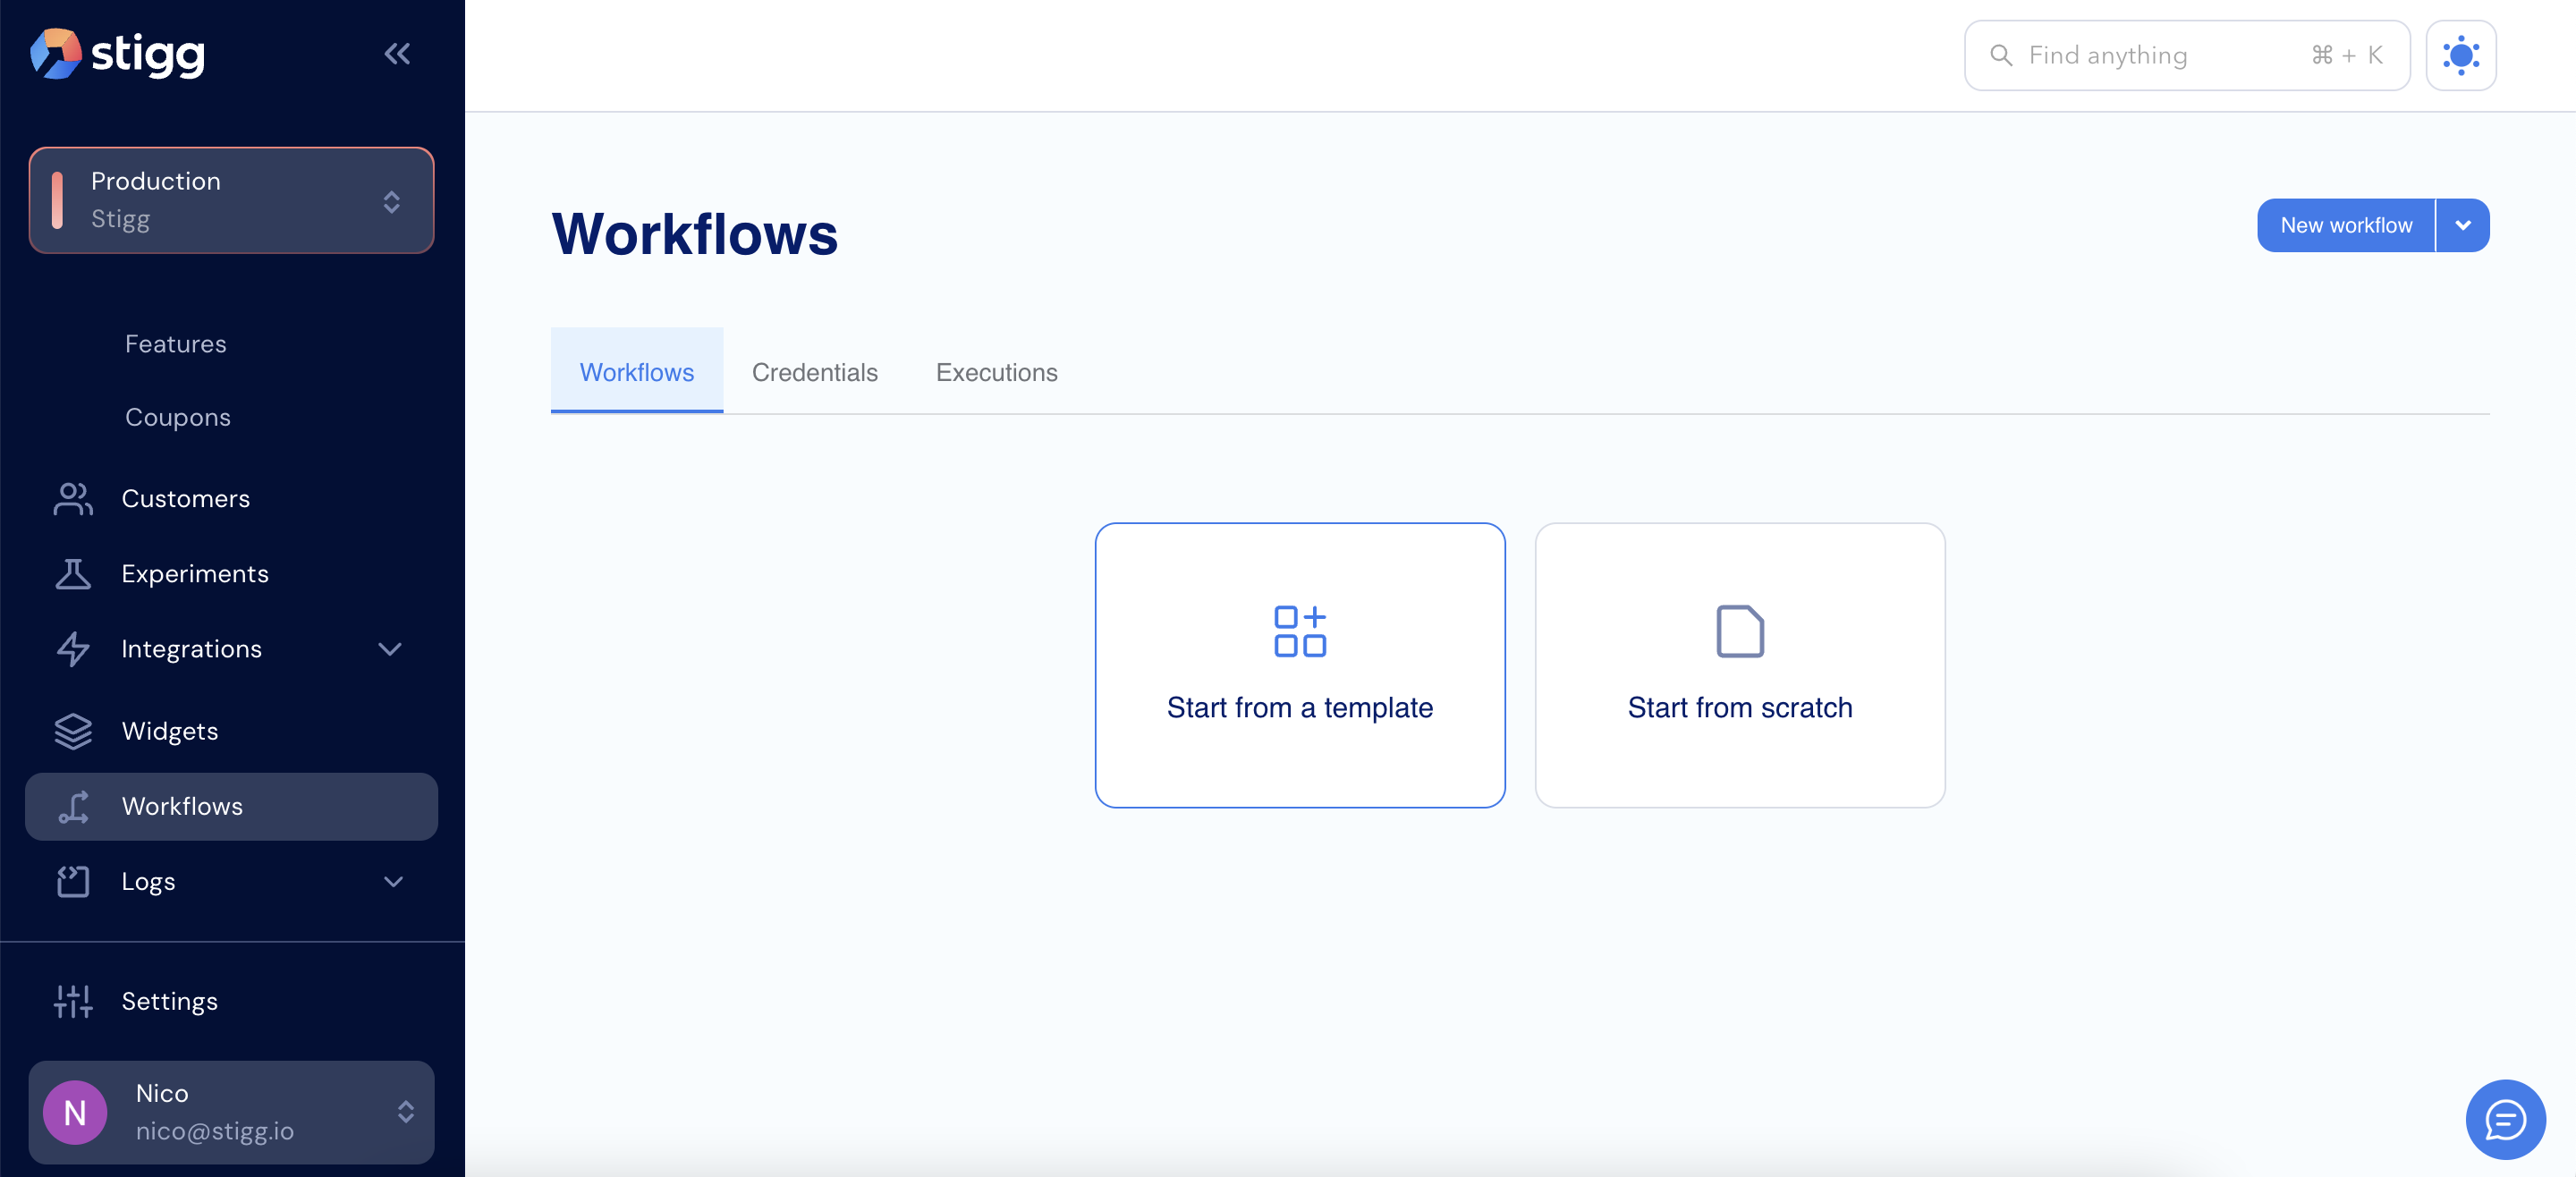
1. Go to **Workflows**.
2. Click **Start from a template**.
 3. Select a suitable template from the list.
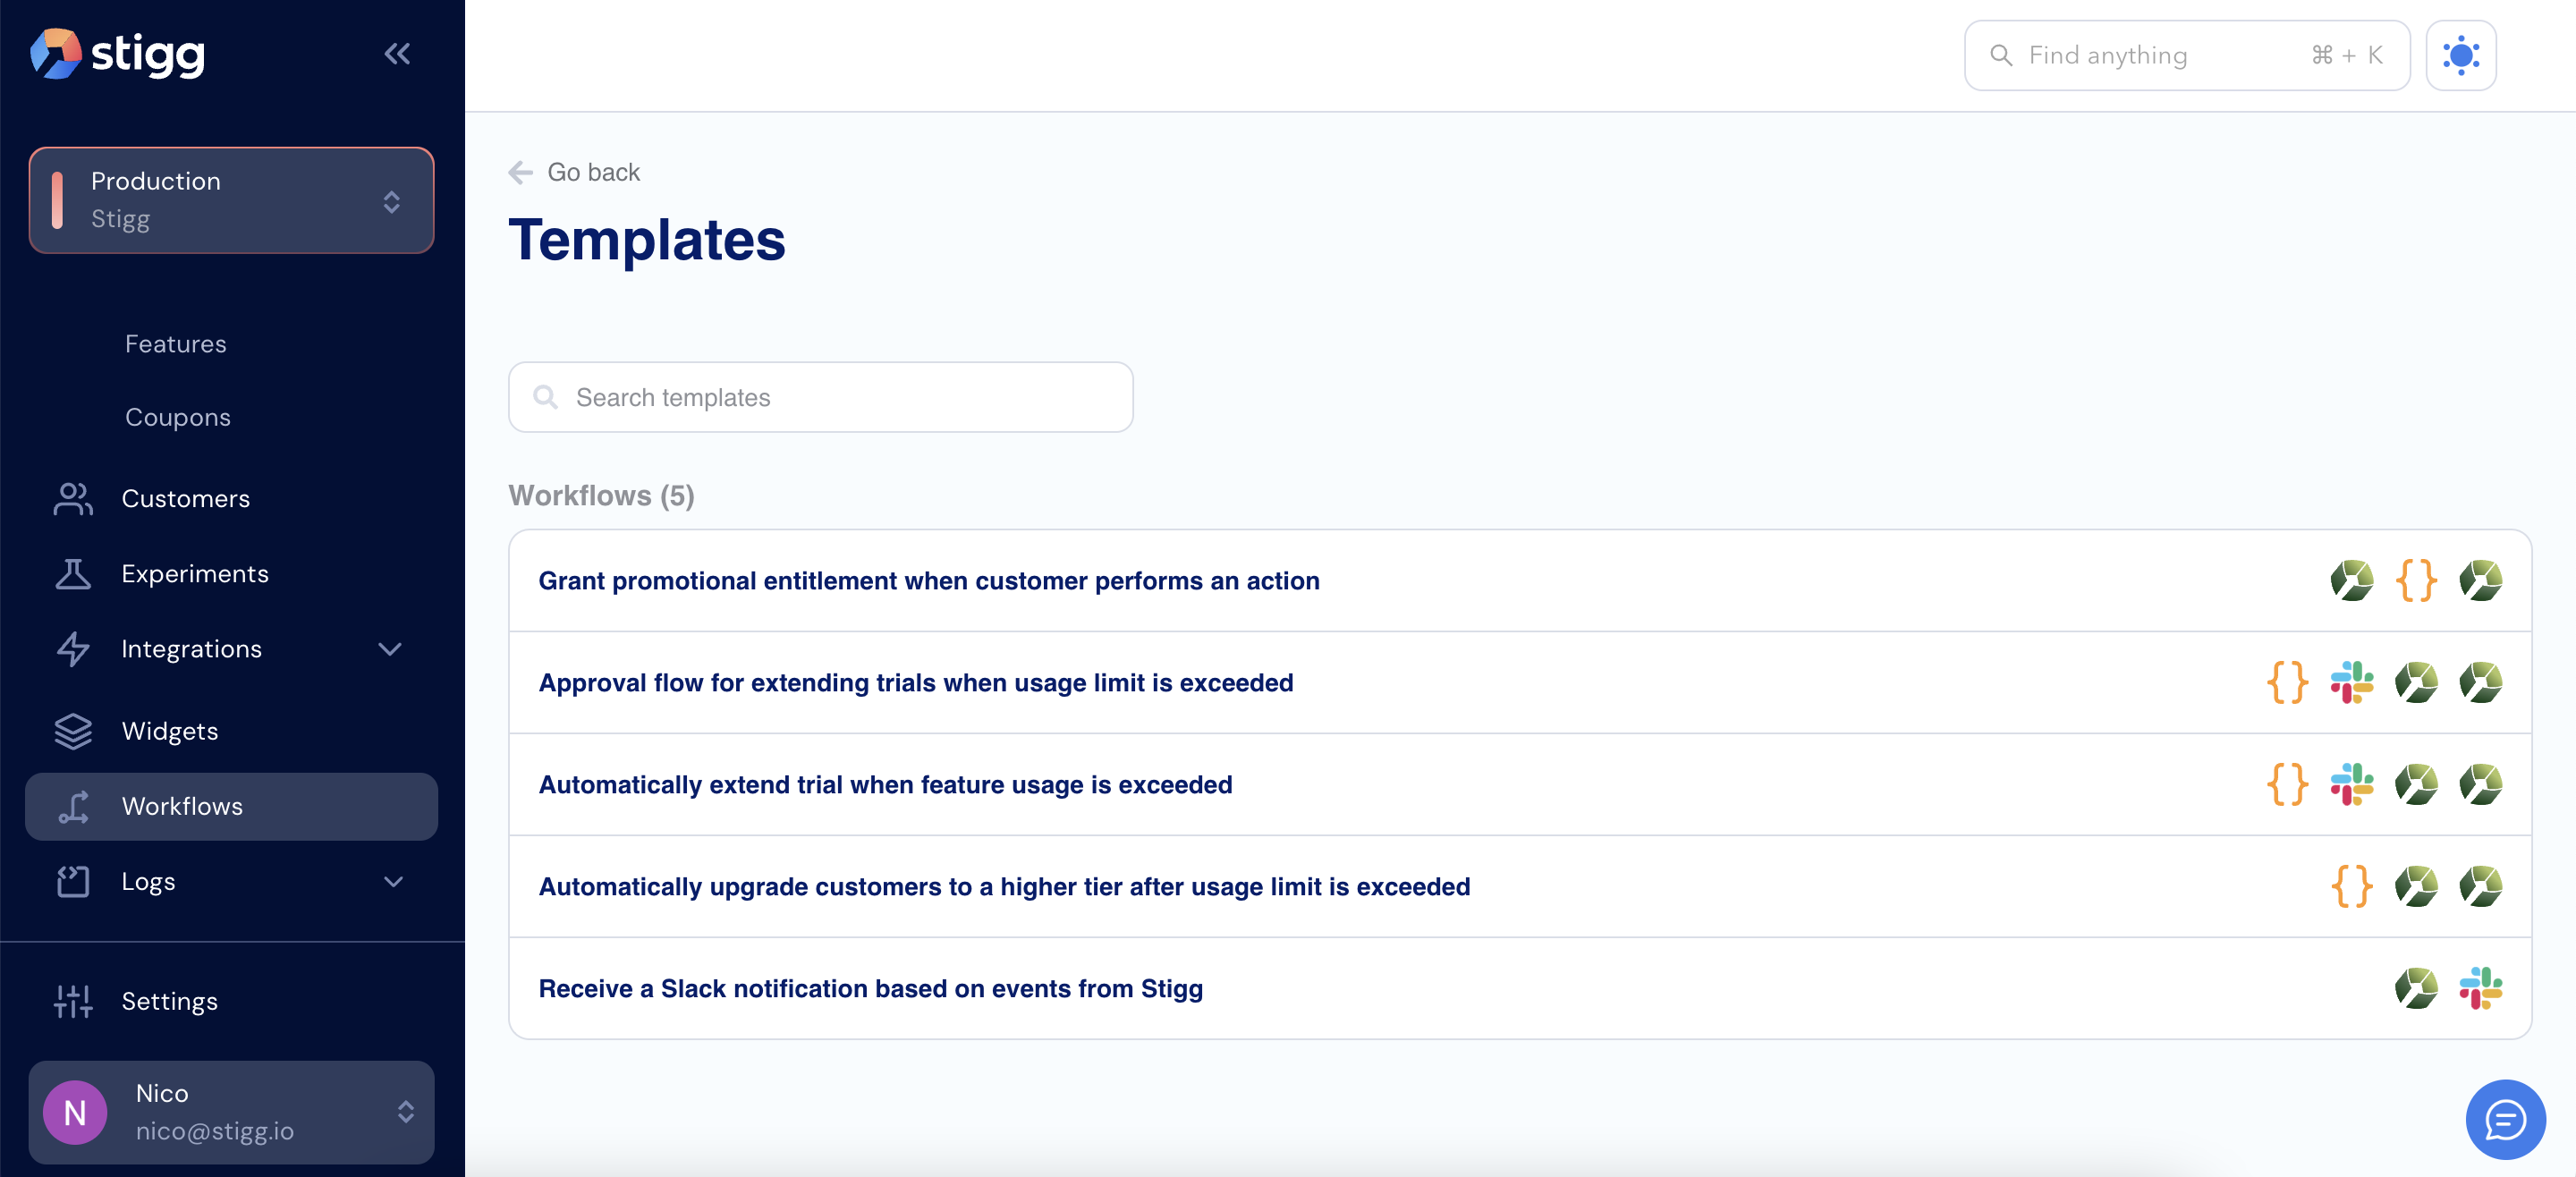 4. Click **Use this workflow**.
5. Customize the workflow to your needs.
## Building from scratch
If none of the templates fit your needs, you can always build a workflow from scratch:
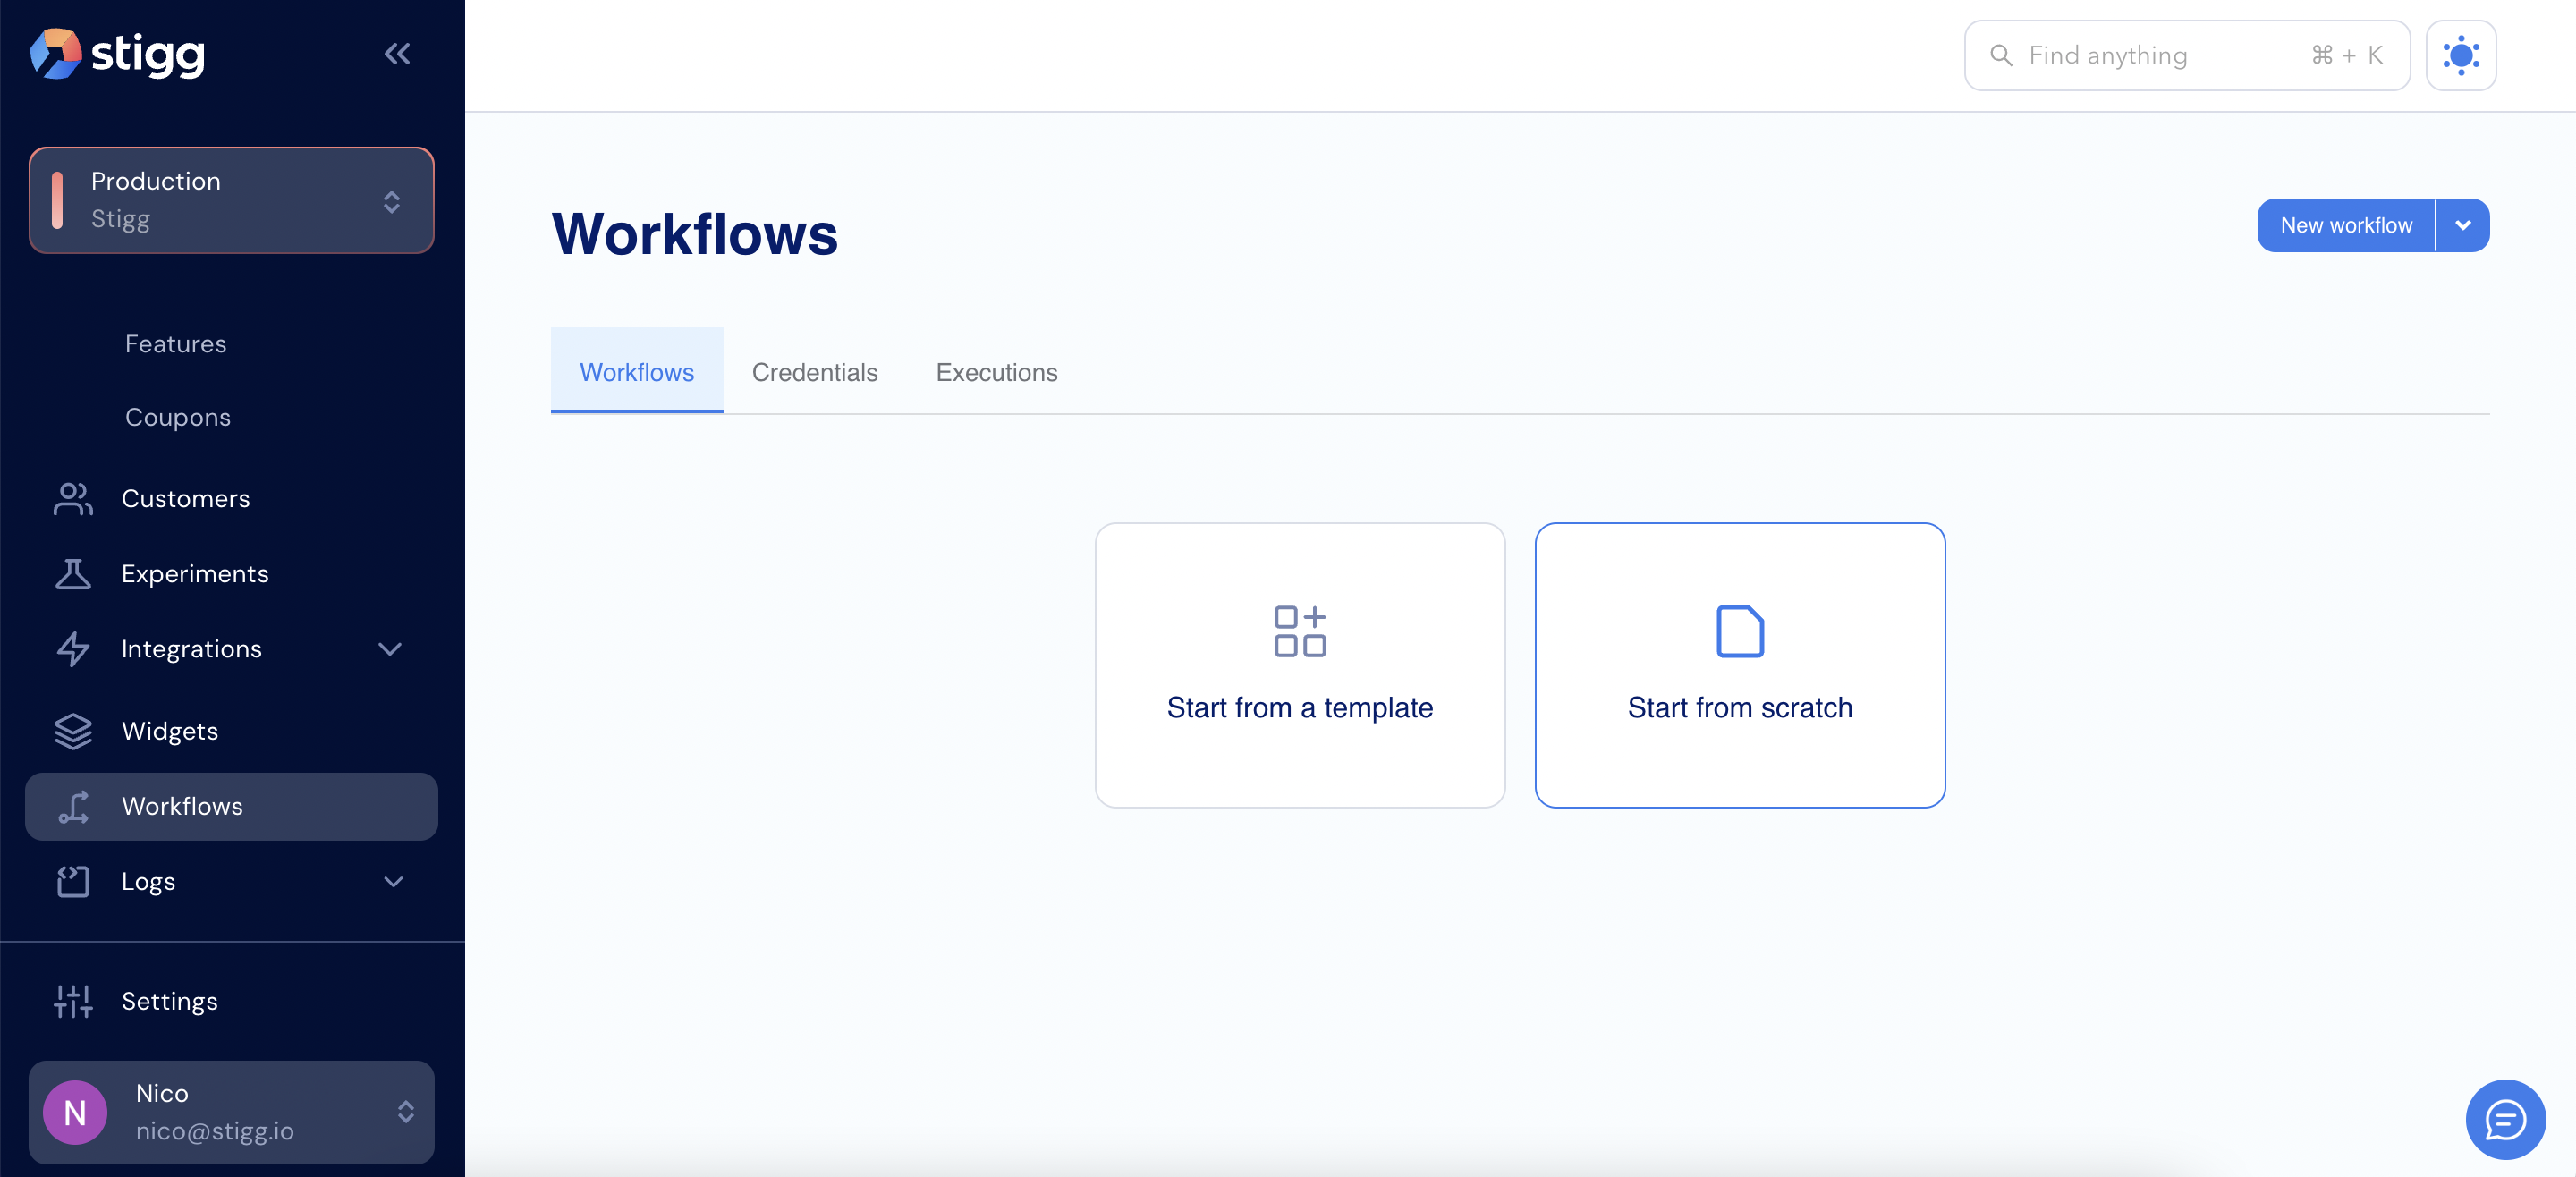
1. Go to **Workflows**.
2. Click **Start from scratch**.
4. Click **Use this workflow**.
5. Customize the workflow to your needs.
## Building from scratch
If none of the templates fit your needs, you can always build a workflow from scratch:
1. Go to **Workflows**.
2. Click **Start from scratch**.
 3. Add a Trigger by clicking the **+** button.
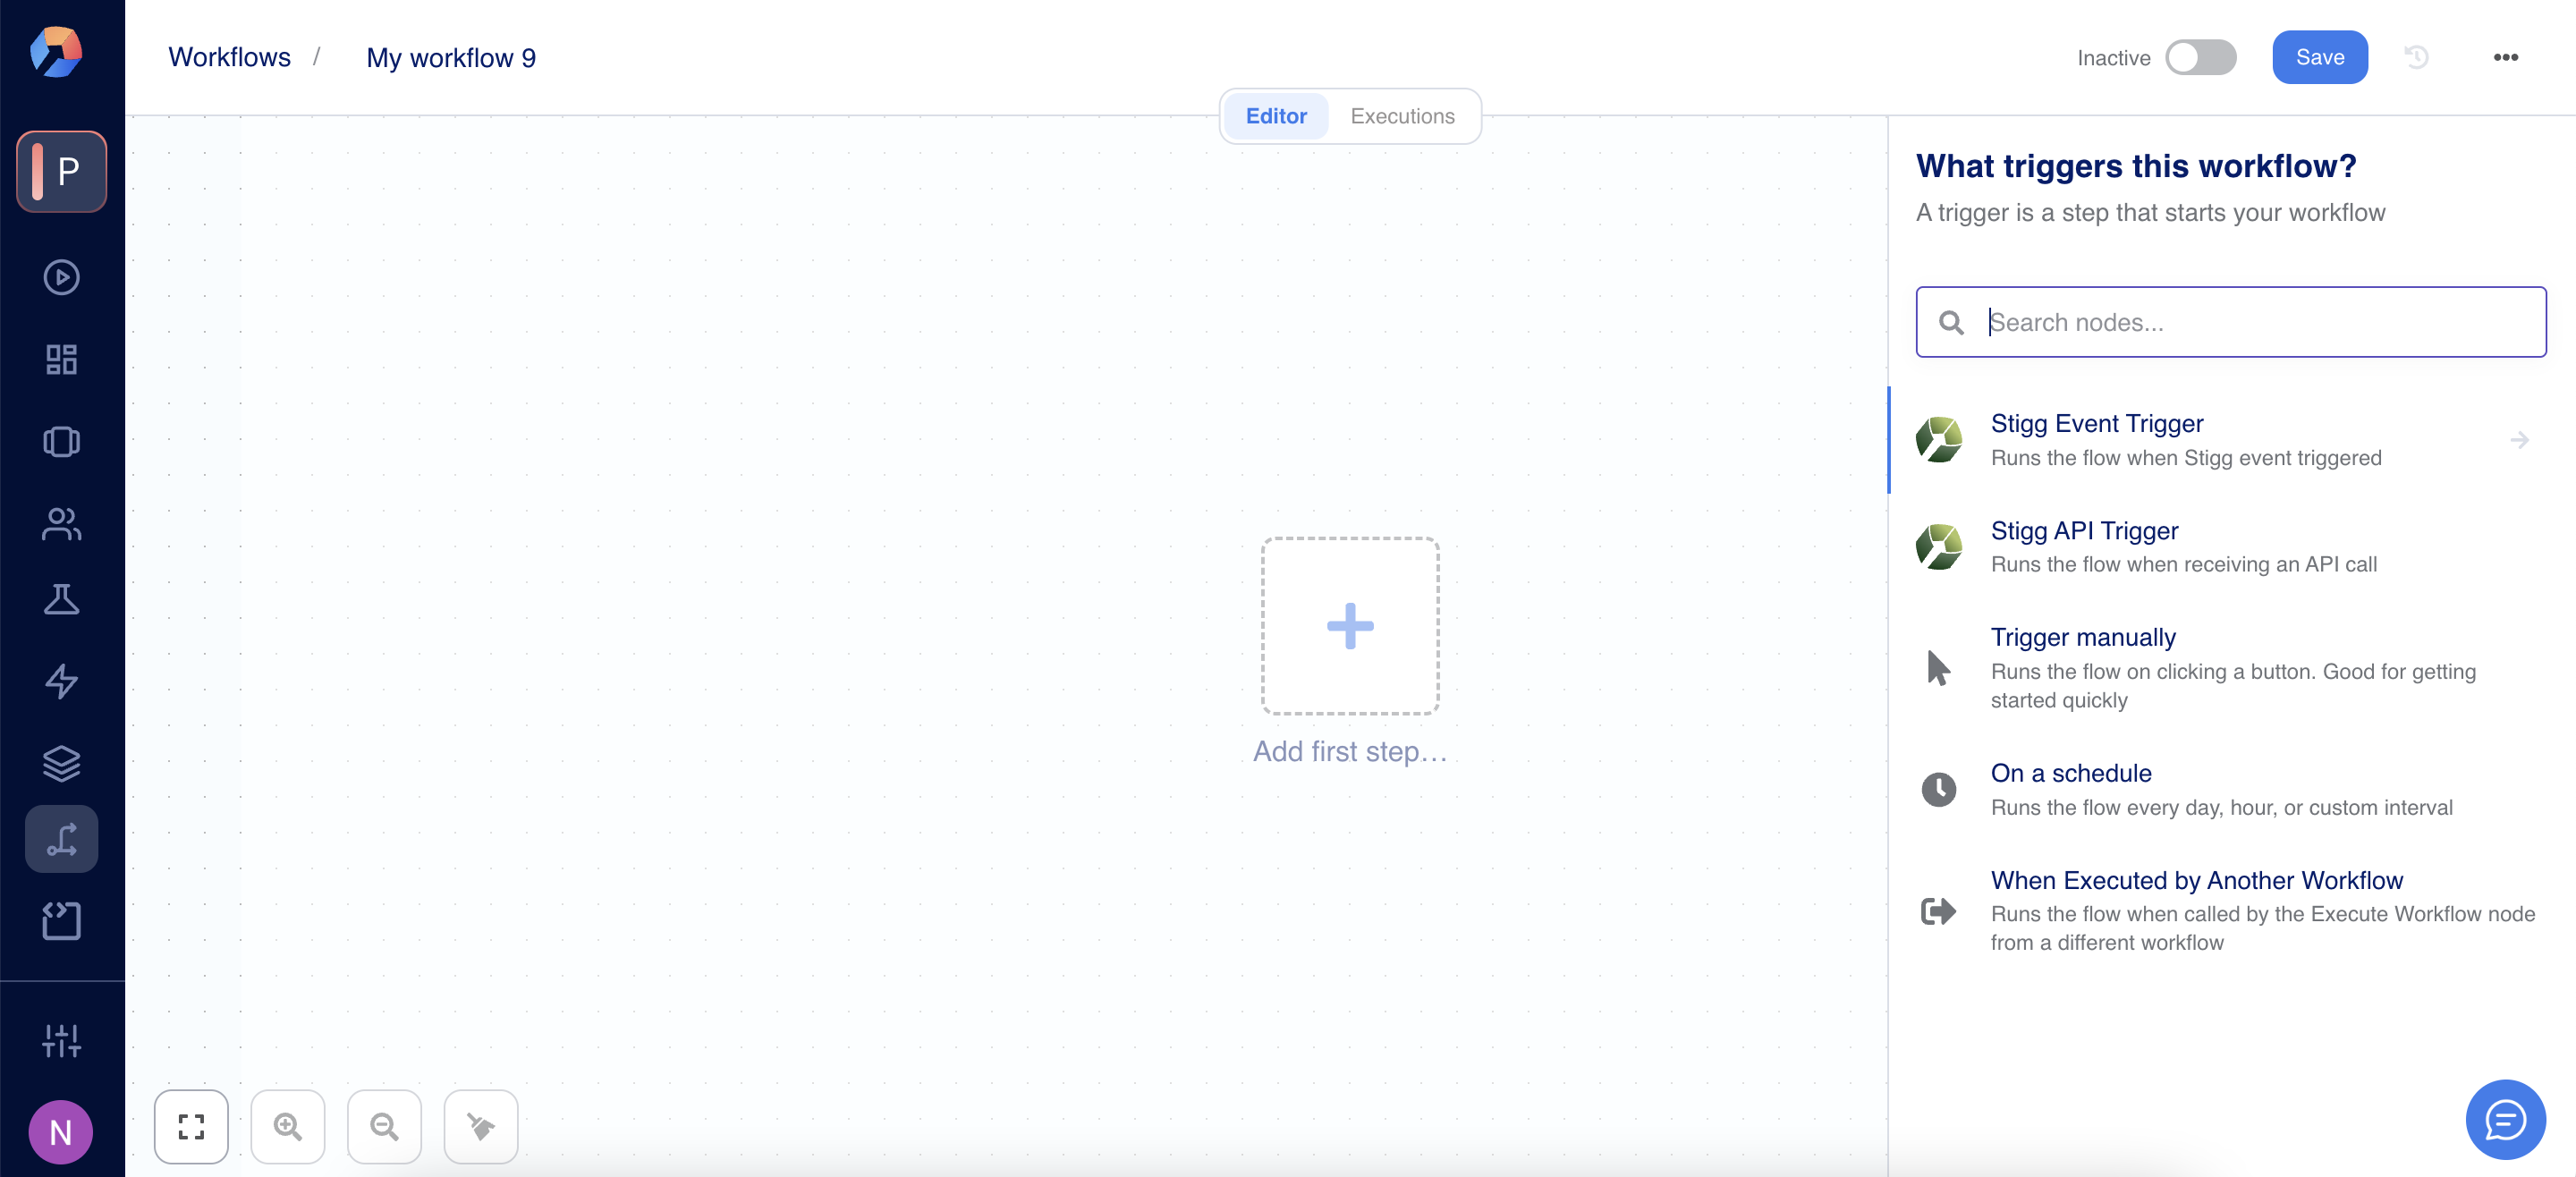 4. Select the required trigger.
5. Fill out the trigger parameters.
6. Add additional nodes as required.
## Testing and debugging
As you're building the workflow, you’ll want to test and debug it to ensure it works correctly before relying on it in production.
The Workflow Builder provides several features for testing and inspecting workflow execution.
### Manual trigger & test events
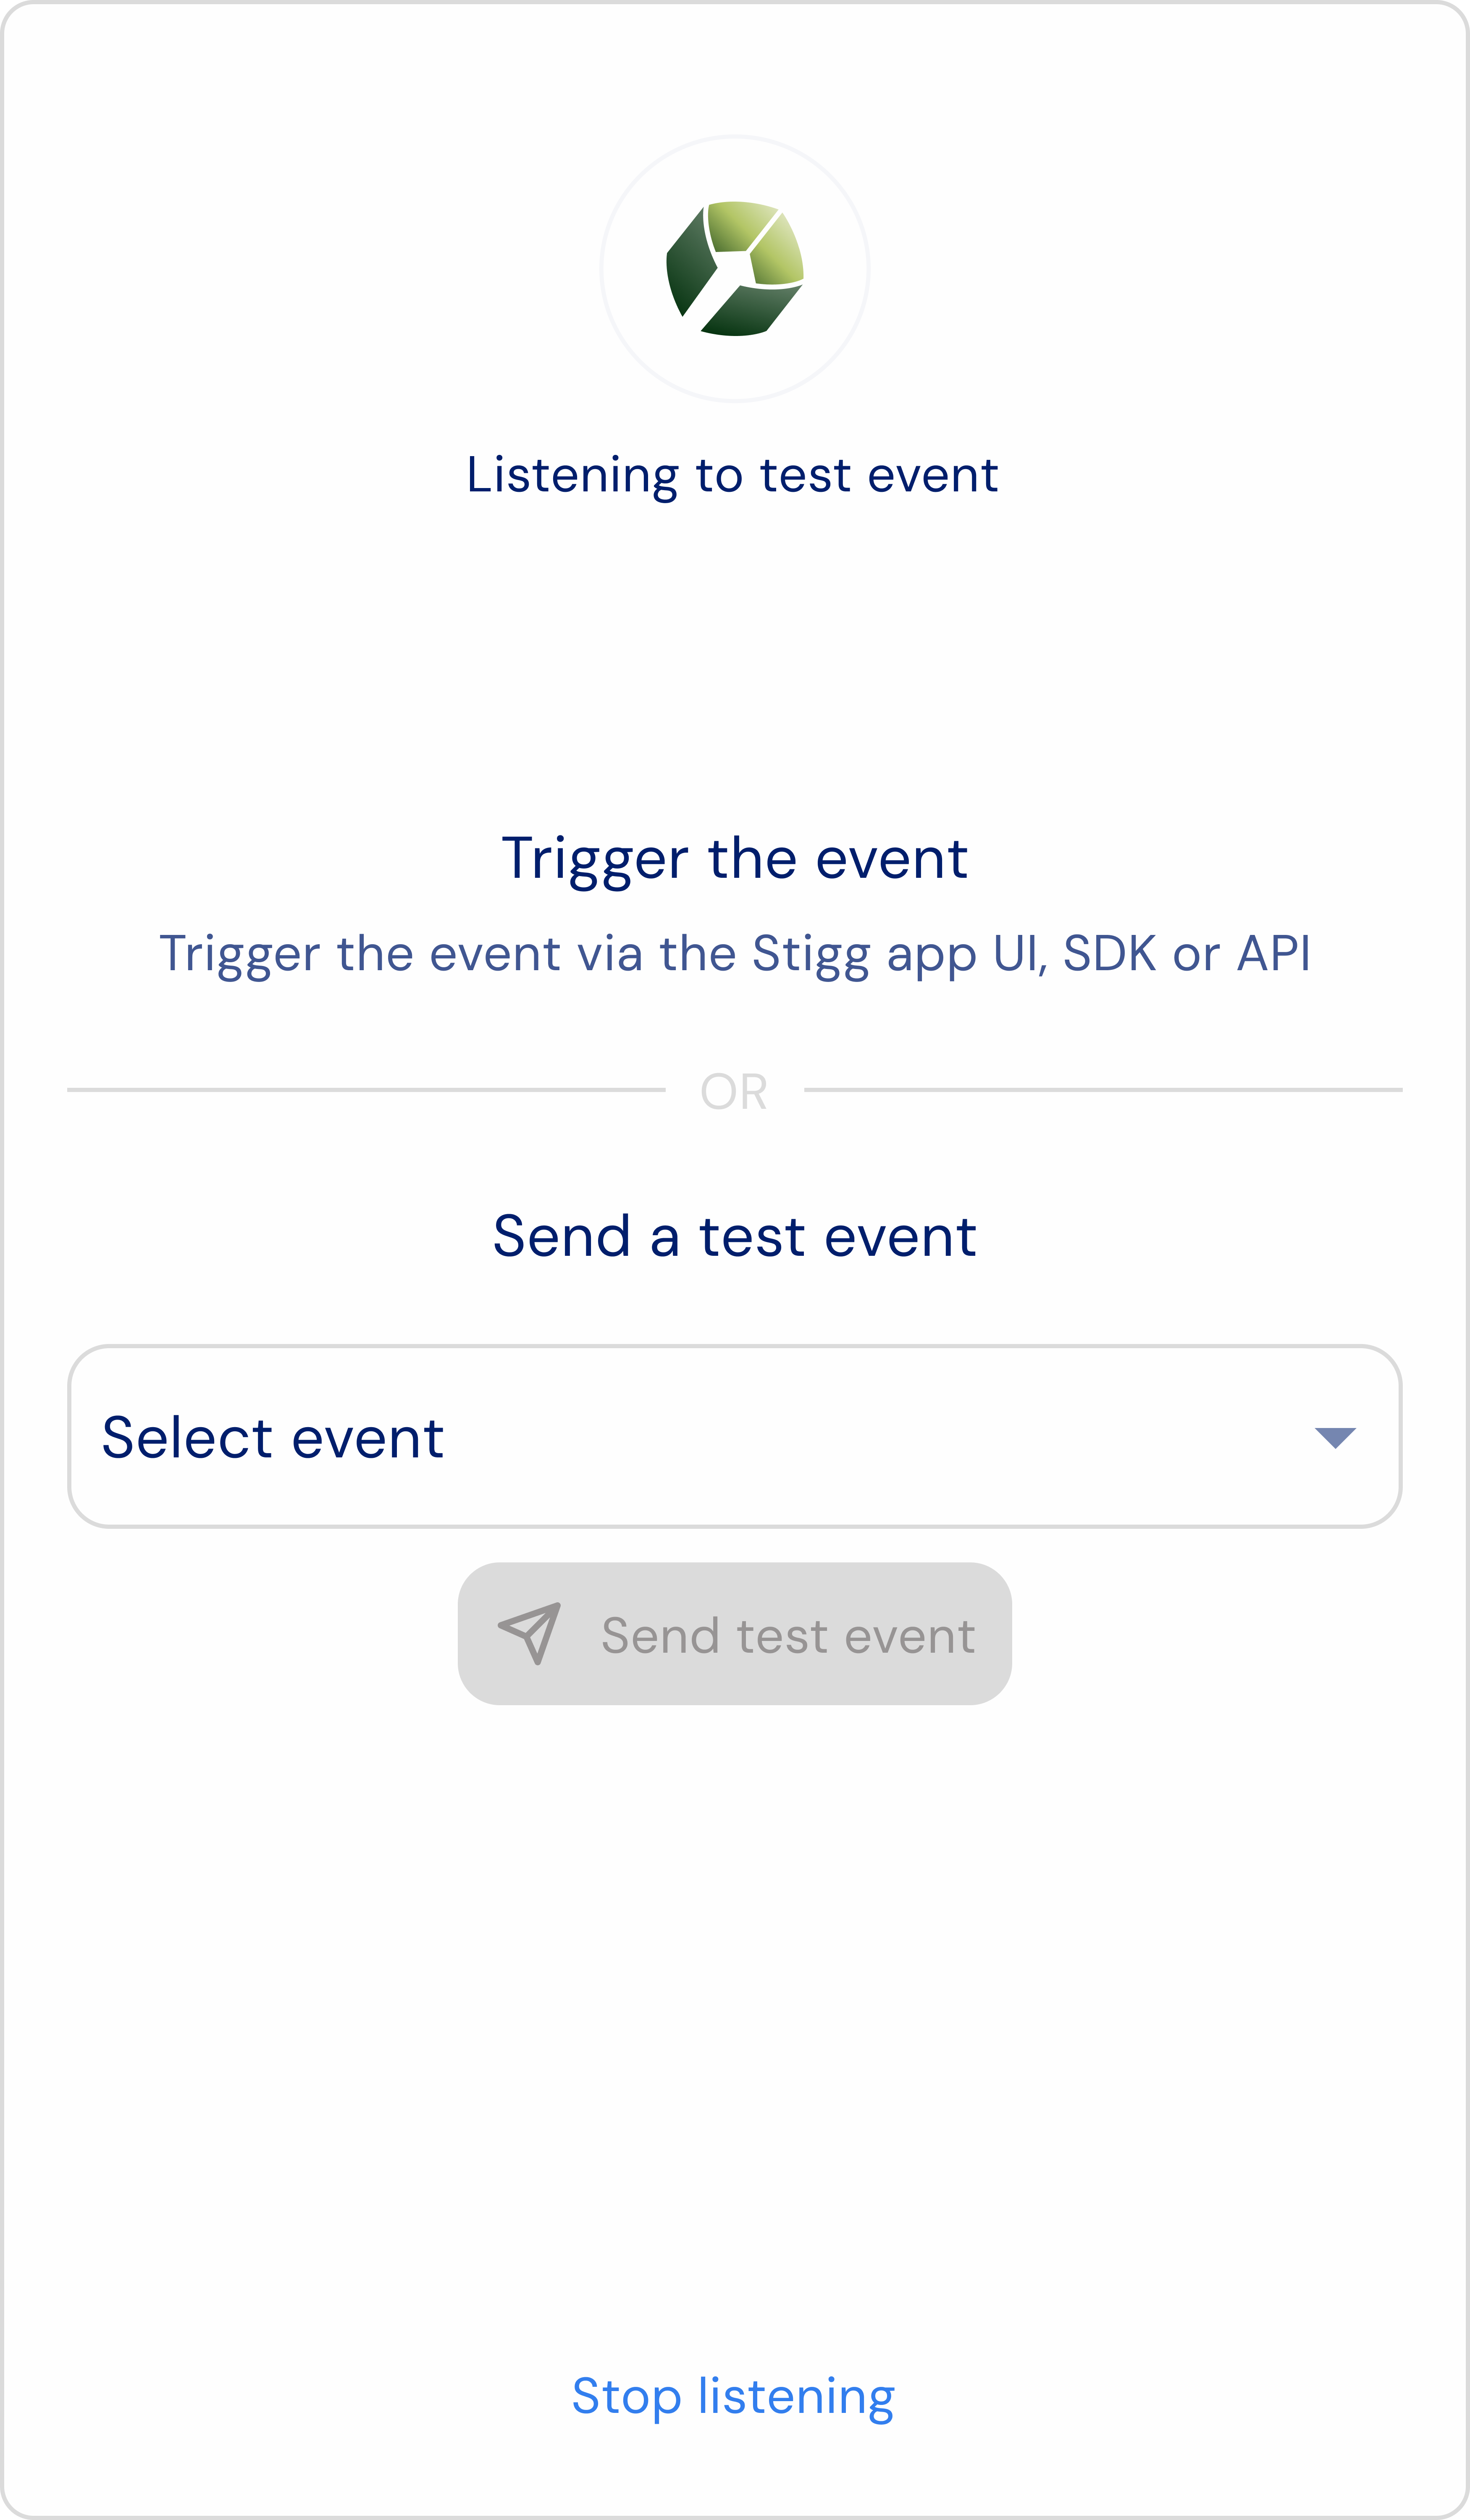
If your workflow uses an Event Trigger, you can send test events using one of the following options:
1. Trigger an event via the Stigg app, SDK or API.
2. Select the event from the drop-down list and click **Send test event**.
4. Select the required trigger.
5. Fill out the trigger parameters.
6. Add additional nodes as required.
## Testing and debugging
As you're building the workflow, you’ll want to test and debug it to ensure it works correctly before relying on it in production.
The Workflow Builder provides several features for testing and inspecting workflow execution.
### Manual trigger & test events
If your workflow uses an Event Trigger, you can send test events using one of the following options:
1. Trigger an event via the Stigg app, SDK or API.
2. Select the event from the drop-down list and click **Send test event**.
 If your trigger is an API Trigger, you can manually call it using `curl` or an API client with test data to start the workflow.
Use the [REST API reference](/api-and-sdks/api-reference/rest/overview) to explore available operations and call them with `curl` or any HTTP client.
Use the [GraphQL API explorer (GraphOS Studio)](https://studio.apollographql.com/public/Stigg-API/explorer?variant=Production) to explore and call GraphQL operations.
To authenticate you need to pass the [full access key](../managing-your-account/environments/api-keys) in the X-API-KEY request header.
### Node-by-node execution
Workflow Builder allows executing a workflow step by step (especially when using manual triggers). In the Stigg app when you click **Test Workflow**, it may run through and show you each node’s result one after the other.
## Debugging data
During a workflow execution, you can click on each node to inspect its input and output data. This is crucial for debugging.
### Edit output data
When testing a workflow, you’re not limited to just viewing the output. You can manually edit a node’s output to simulate different scenarios. This makes it easy to test edge cases and alternate flows without needing to re-trigger events or change upstream logic. For example, you can:
1. Open the **Output** tab of any node.
2. Switch to JSON view by clicking **Set mock data** or the **Edit** icon.
3. Save the edited output and re-run downstream nodes with this synthetic data.
This lets you quickly validate how your workflow handles different conditions.
### Pin data
You can also pin output data to reuse it across multiple test runs. This avoids repeatedly calling external systems and ensures consistent results while developing or debugging your workflow.
## Workflow activation
When you're ready to enable the automation, you can activate the workflow using the toggle in the top-right corner.
If your trigger is an API Trigger, you can manually call it using `curl` or an API client with test data to start the workflow.
Use the [REST API reference](/api-and-sdks/api-reference/rest/overview) to explore available operations and call them with `curl` or any HTTP client.
Use the [GraphQL API explorer (GraphOS Studio)](https://studio.apollographql.com/public/Stigg-API/explorer?variant=Production) to explore and call GraphQL operations.
To authenticate you need to pass the [full access key](../managing-your-account/environments/api-keys) in the X-API-KEY request header.
### Node-by-node execution
Workflow Builder allows executing a workflow step by step (especially when using manual triggers). In the Stigg app when you click **Test Workflow**, it may run through and show you each node’s result one after the other.
## Debugging data
During a workflow execution, you can click on each node to inspect its input and output data. This is crucial for debugging.
### Edit output data
When testing a workflow, you’re not limited to just viewing the output. You can manually edit a node’s output to simulate different scenarios. This makes it easy to test edge cases and alternate flows without needing to re-trigger events or change upstream logic. For example, you can:
1. Open the **Output** tab of any node.
2. Switch to JSON view by clicking **Set mock data** or the **Edit** icon.
3. Save the edited output and re-run downstream nodes with this synthetic data.
This lets you quickly validate how your workflow handles different conditions.
### Pin data
You can also pin output data to reuse it across multiple test runs. This avoids repeatedly calling external systems and ensures consistent results while developing or debugging your workflow.
## Workflow activation
When you're ready to enable the automation, you can activate the workflow using the toggle in the top-right corner.
