> ## Documentation Index
> Fetch the complete documentation index at: https://docs.stigg.io/llms.txt
> Use this file to discover all available pages before exploring further.
# Creating plans
To create a new plan:
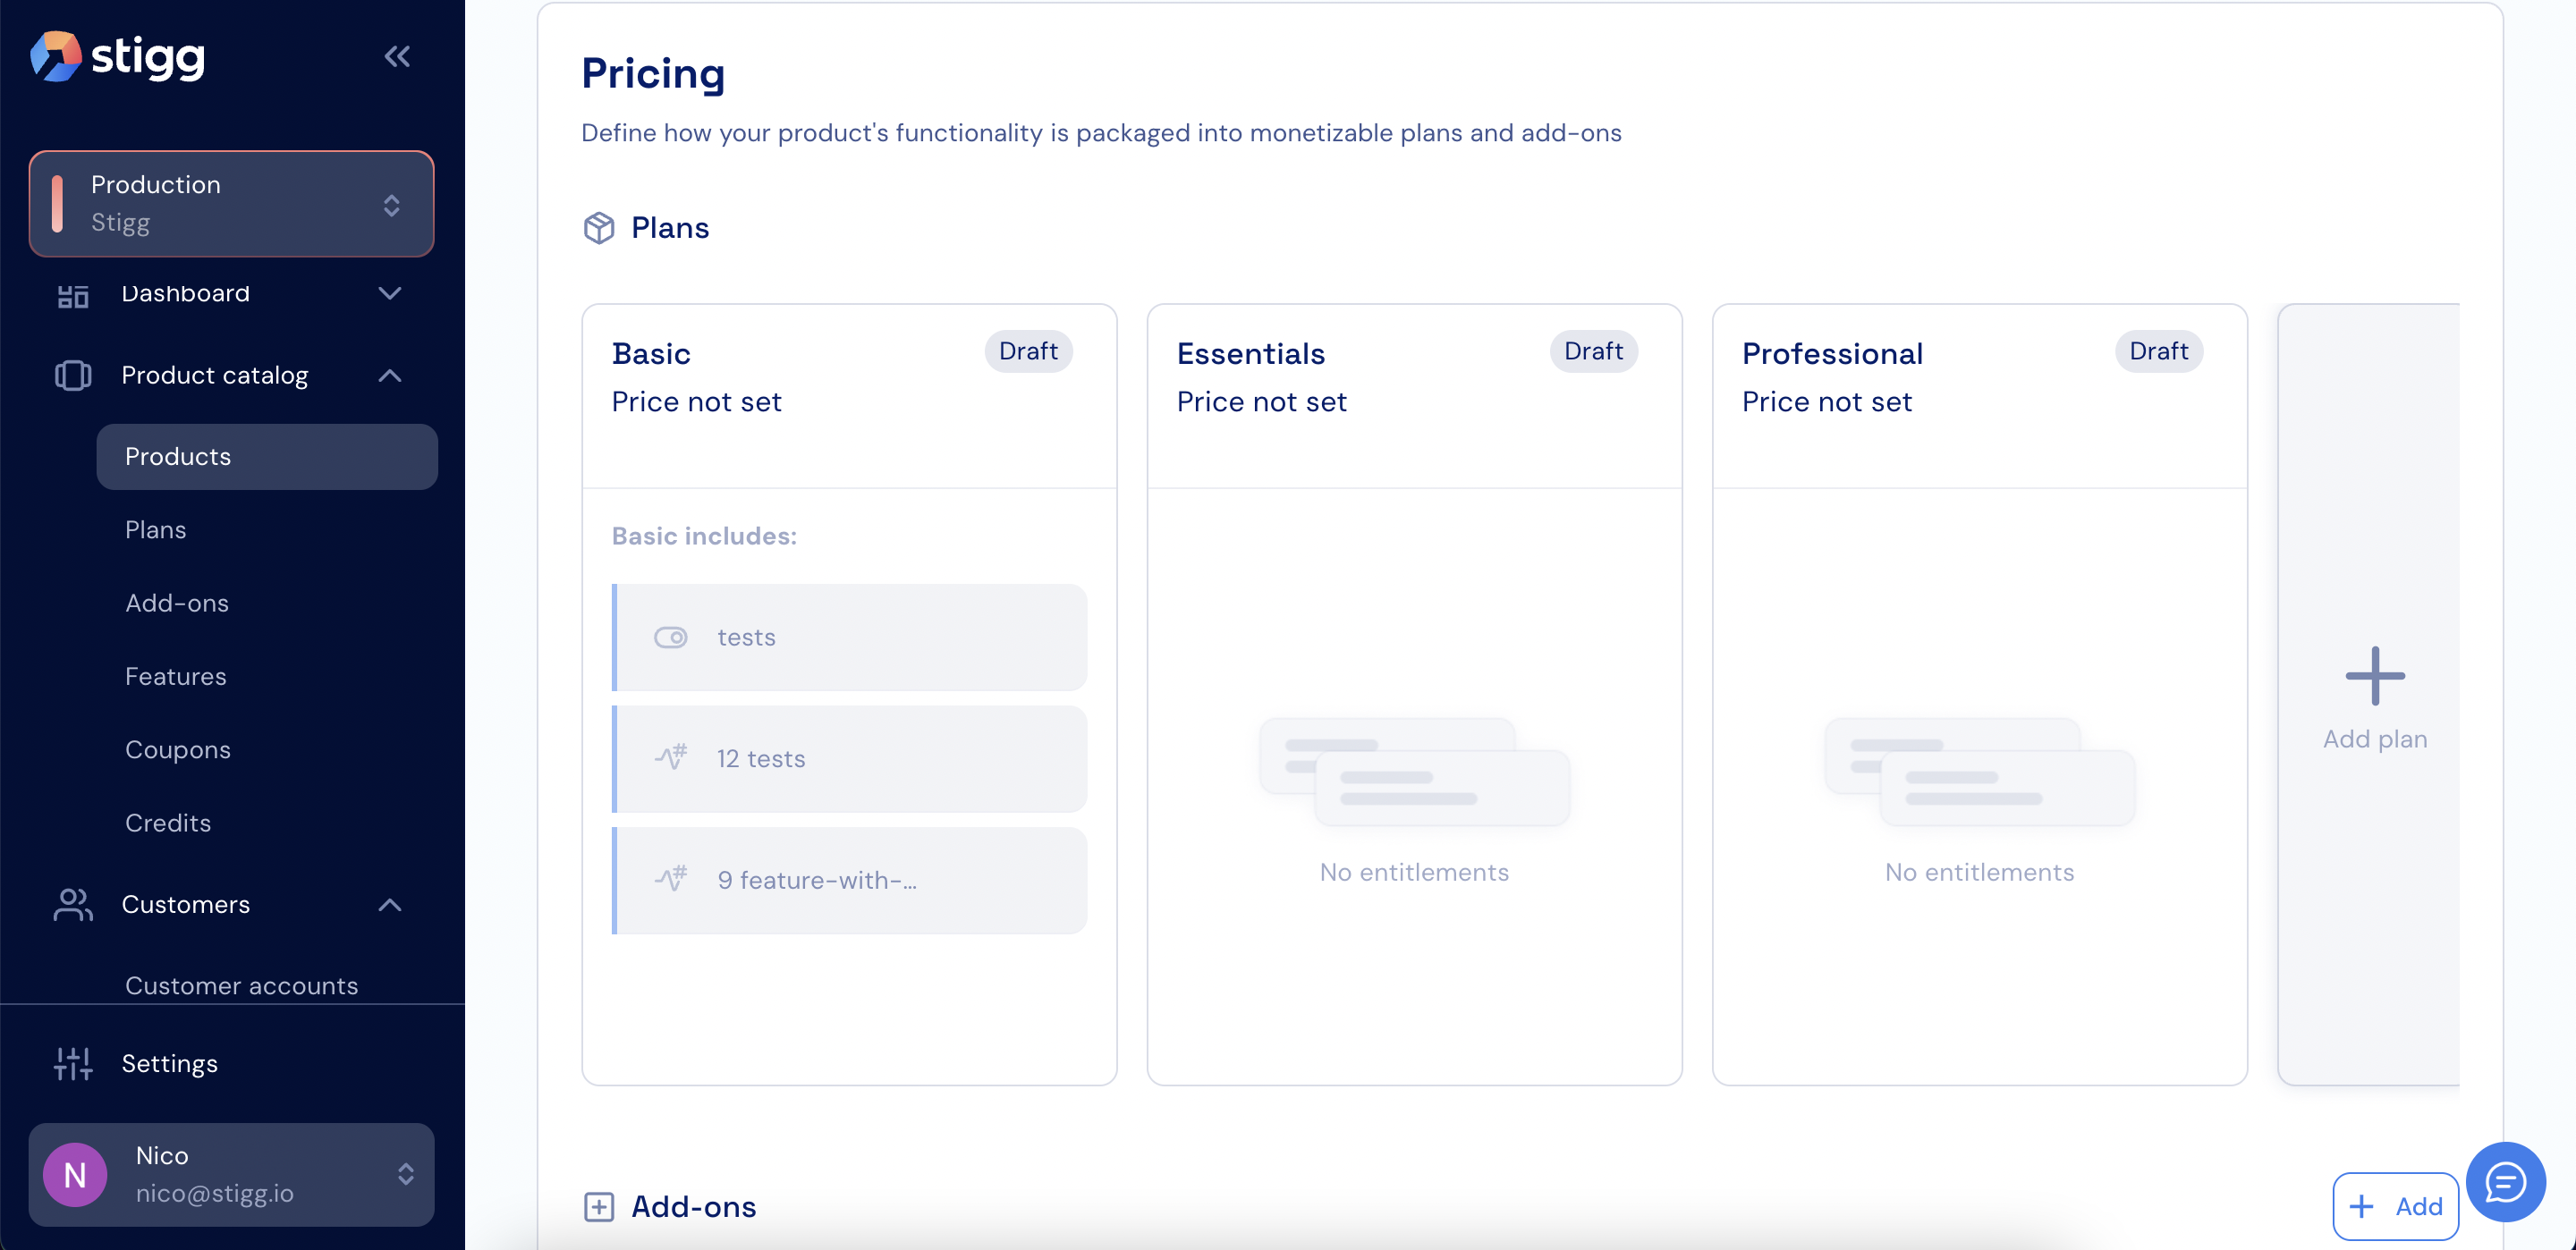
1. Click the **+ Add plan** button under the **Plans** section of the selected product.
 2. In the modal that appears, set the following:
* **Name**: The name of the plan.
* **ID**: Automatically generated by Stigg. Use this ID to reference the plan in your application. To link an existing plan, you can override the auto-generated value.
* **Description** *(optional)*: A short description of the plan.
* **Customer visibility**: Determines whether the plan appears in pricing tables rendered via Stigg SDKs and whether customers can self-subscribe to it.
The **Name** and **Description** values appear in customer-facing pricing tables and the customer portal. Use clear, customer-friendly text for best results.
3. Click **Create** to confirm.
Newly created plans are saved as **drafts**.
Plans must be [**published**](./publishing-plans) before they become visible to customers or available for subscriptions.
Before publishing, make sure to define the plan’s [pricing](./defining-plan-pricing/defining-plan-price) and [entitlements](./assigning-features-plans).
2. In the modal that appears, set the following:
* **Name**: The name of the plan.
* **ID**: Automatically generated by Stigg. Use this ID to reference the plan in your application. To link an existing plan, you can override the auto-generated value.
* **Description** *(optional)*: A short description of the plan.
* **Customer visibility**: Determines whether the plan appears in pricing tables rendered via Stigg SDKs and whether customers can self-subscribe to it.
The **Name** and **Description** values appear in customer-facing pricing tables and the customer portal. Use clear, customer-friendly text for best results.
3. Click **Create** to confirm.
Newly created plans are saved as **drafts**.
Plans must be [**published**](./publishing-plans) before they become visible to customers or available for subscriptions.
Before publishing, make sure to define the plan’s [pricing](./defining-plan-pricing/defining-plan-price) and [entitlements](./assigning-features-plans).